Monday, January 21, 2013

A Little Sympathy

This weekend I had to make two sympathy cards. I never have these type of cards in my stash and one of the recipients is way over due. I hope there is not an etiquette requirement for the receiving a sympathy card because if so, I failed miserably.

Both of the cards I made have a similar design and color scheme. I cannot say the design is my own. It is CASE from I card I saw on Pinterest but apparently didn't pin. I thought I had a link but for the life of me, I cannot find it.

The first card I created for a friend that lost her father-in-law on Friday. I think it is a simple, yet beautiful card. I printed out a sentiment I found on the web for the inside but I didn't photograph it.


Here is a side view of the card. The heart is dimensional.


The second card I created for a friend at work. She lost her mother over Christmas. I have a hard time writing out cards for people that lose their mother because of my own experience. There is nothing I can say that will make anyone feel better about it. I did include a butterfly (something that symbolizes rebirth!) and on the inside I used an Emily Dickinson quote for the sentiment.


That is all for today. Thank you for stopping by!! I hope my subject did not depress you too much but will give you simple ideas for future cards of your own. Have a great day!!

Nora

Sunday, January 20, 2013

Paper Trey Ink's Make It Monday 100th Video!!

Have you ever checked out Paper Trey Ink's Make It Monday Videos? Every Monday they feature a new technique that you can use on cards or other types of paper crafts. This week, one my FAVORITE  card designers, Dawn McVey, created a video on how she packages cards that have embellishments that go off the card. (Video 100) It was really interesting. She often sends these type of cards out in larger envelopes, just like I have always done!! With the video, there is also a weekly challenge. I decided to play and here is my card and the envelope I came up with:


Supplies: Everything is Paper Trey Ink with the exception of the black cardstock (Bazzill), the alphabet Stickers (Doodlebug Design Candy Shoppe) and the patterned paper (Crate Paper "Cupid"), Copic Markers

Here is the just the card:


This is the front and the back of the envelope. I like the back better then the front. I am always afraid to embellish the front too much if I am going to send the card through the mail.


I hand stamped paper strip with "Tag It's #11" from Paper Trey ink in black, Berry Sorbet and Kraft ink. I will be doing this technique more often! I will let you in on a little secret, though. The stamping isn't straight! Normally I would throw it away but because I wanted to get this done for tomorrow, I just went with it. SHHH SHHH!! Don't tell anyone!!


I used the Copic Markers below to color in the circle element on the tag. Cannot say these are my favorite colors but it came out OK.


I am posting the photo of the envelope box too so that you know what size envelopes to buy if you need them. I only had white on hand but usually have both white and cream. 


One suggestion that Dawn gave in the video is if you are sending a dimensional card like mine, if you place a piece cardstock over the front, it will protect the embellishment. I usually put the front of my cards facing toward the back and tape the back with packing tape so the card back will go through the machine. However, I am going to use the cardstock trick next time.

Nora

Friday, January 4, 2013

Happy Friday!!


Phew!! This week went by fast. I like these 3 day weeks!! I hope everyone had a good week. 

This is just a quick post with a few scrap book pages. I am having the girls over for dinner and so I only have a few moments to post. Again, I am posting Christmasy kind of pages. Sorry. I am always a day late and a dollar short!! In fact, these photos are from our 2011 Christmas. I am in no way caught up in scrapbooking and just create with the photos that inspire me. 

The first page is of Charlotte with my niece and nephew at their house on Christmas day. I had fun misting and using tape on this page. Not so Christmasy in colors either.


Supplies: Paper-White cardstock, Basic Grey Aspen Frost "Open Sleigh," and Aspen Frost 6" by 6" paper pad, Simple Stories "Color Vibe" 6" by 6" paper pad, Simple Stories "Snappy Thoughts" cards, Pink Paislee Parcel Tags, Tape-Queen and Company Vertical Pink Stripes and Polka Dot Red; Stickers-My Minds Eye "All is Bright" Stickers, My Little Shoe Box Alphabet; Spray mist

Below is a layout that was based on a quilt I saw on Pinterest. This is Charlotte and my father. I am so happy to have these photos. I try to get as many as I can when we are with him. I had fun cutting up strips of paper for the border.


Supplies: Paper-White Cardstock, Basic Grey Aspen Frost, Echo Park, Jillibean Soup, Lilly Bee Design, Aspen Frost Flair; Ink-black and Vintage Photo Ink, Pink Paislee Ephemera Pack, Silhouette Machine, Stickers-Basic Grey Green Alphabet and Prima

The last page is just a quick one with Charlotte and her cousin. I love her silly face so I just had scrap it!! Like the first, I had fun misting, stamping and layering with paper.


Wishing you all a fabulous weekend!!!

Nora

Tuesday, January 1, 2013

Happy New Year!!!

I hope everyone had a happy, safe New Years eve. We just spent it watching a movie with Charlotte and I was in bed by 10:30. I am trying to get back into my work habits because over vacation I have gone to bed rather late and slept later then I usually do. Going back to work tomorrow will be interesting!!

Today I thought I would share some of my projects I did for the holidays. Yes, they are over but I wasn't organized enough to post them. I am going to try to do a Christmas Inspiration piece once a month, from tags to ornaments or gifts to get you inspired to create all year. Wouldn't it be nice to be organized for next year's holiday ahead of time?

My first projects are various cards I created. The one below was the EASIEST I have created in a long time. I used a piece of patterned paper over an ivory card stock base. I then layered fun embellishments from Pink Paislee over both. This is a card I did in about 15 minutes-a record for me!!


Supplies: Paper-Basic Grey Aspen Frost Woolen Mittens, Ivory Card Stock; Pink Paislee Parcel Tags, Pink Paislee Ephemera Pack, Pop Dots, Paper Trey Ink Stamp, Vintage Photo Ink; twine

My next card looks just as easy but it took a little more time. That funky star is a die cut that I glittered and then attached over all the layers. I love this card. The star really makes it!!


Supplies: Paper-green, red, ivory, and kraft card stock, Lily Bee Design Christmas Cheer patterned paper; Pink Paislee Parcel Tags; Ink-Red and Vintage Photo Ink; Tim Holtz Large 3-D Die; Red Rhinestones; Technique Tuesday "Be Jolly" stamps; Diamond Stickles

The next one is not my favorite but I am including it because not everything will turn out how you want, will it? The wreath is part of the Pink Paislee Parcel tags pack. I just doctored it up with glitter glue.


Supplies: Paper-Basic Grey Aspen Frost, red and ivory card stock, Pink Paislee Parcel Tags; Pop Dots; Stickles-Diamond and Turquoise; red buttons; ribbon

The next card is created by layering paper and then a stamped embellishment over a doily is the focal point. This stamp isn't meant to be a Christmas stamp but I used it on many cards this year.


Supplies: Paper-Lily Bee Design "Christmas Cheer" 6" by 6" paper pad, Red Card stock, Bazzill Basics-"Sheet Music"; Ink-Red, green and Vintage Photo Ink; Stamps-My Mind's Eye "Cutie Pie" Technique Tuesday "Be Jolly" stamps; Martha Stewart Doily.

The next two photos are a project that I saw on Pinterest and have wanted to try for over a year. I am not a wine drinker so I had to enlist some people to help me collect corks. I still need more so everyone I know, save them for me. It would be greatly appreciated!!

I used the Pinterest pin only as a jumping off point and made them my own as aI always do. I NEVER copy anything exactly. Charlotte made the deer on the right and I created the deer on the left. My reindeer is an ornament. Charlotte made fun of it because she thought it looked like it had too much to drink!!


Here is a side view of my deer with the little hook for where the hanger would go. I want to make more of these over the year because I have a ton of friends that I could see gifting one of these to. However, I have to figure out a better way to cut the corks. My husband was on a business trip and Charlotte was afraid I would cut my finger off. She had all the first aid supplies and a phone ready in case she had to call for help!!


This next photo is just a few chocolates wrapped with tulle. I stamped a tag, added a bow and a bauble and it is an instant gift. Easy peasy!!


I took A LOT of time with this ornament. I die cut the star, stamped it, glued trim around it, glittered it and added embellishments. It came out fantastic and this is another project I want to create more of for gifts next year. The fun thing about this was I dug through my box of Christmas findings I buy every year on clearance to decorate the front.


Supplies: Paper-white card stock; Tim Holtz 3D Star Die, Hero Arts Stamp, Stickles Diamond Glitter Glue, White Ribbon and trim; Christmas findings.

One of the things I try to do when I give a gift is to make my own tags. Often my wrapping is better then the gift inside!!

I created this tag for my niece. I adore this little gingerbread man! Instead of glitter glue I experimented using a glitter paint. It went on nicely however it made the paper curl a bit. I then layered the gingerbread man over a stamped tag.


Supplies: Paper-kraft and white cardstock, scraps of patterned paper; Ink-red and Vintage Photo Ink; glitter paint; pop dots; red Washi Tape; Sizzix Gingerbread Die and Silhouette Tag; Technique Tuesday "Be Jolly" Stamp; 

The next three photos are of a canning jar that I filled with truffles for a co-worker. I covered the top with patterned paper and ribbon to hide the top of the jar.


I then attached a tag I die cut and stamped over a tiny kraft bag. Inside the bag I placed a gift certificate. This woman does so much for the department that I thought she deserved more then the candy!!


I even decorated the inside of the tag. Sometimes it is the little "extras" that make the gift!!


Supplies: Paper-Lily Bee Design-Christmas Cheer; White card stock, Blue card stock, Ink-red and Vintage Photo Ink; Die Cuts: Paper Trey Ink and Silhouette Cameo; red ribbon; canning jar; Paper Trey Ink 2010 Holiday Tag Stamps

My last addition to this post are of a tag and star I created to top another co-workers gift. I love these little added touches. Presentation goes a long way!! Again, all I used was a die cut machine for the star and tag. I topped them off with bells and some curling ribbon. I LOVE how this came out!!


Supplies: White card stock; blue ink; Simple Stories grey polka dot paper; diamond glitter glue, Die Cuts-Tim Holtz Large 3D Star, Silhouette machine; Stamps-Paper Trey Ink and My Minds Eye.

I hope this inspires you to make some of your own tags and gifts for next year. Happy New Year!!

Nora

Monday, December 31, 2012

An End of the Year Post

Once again this blog has been neglected. I think if I could type this on my IPad it would be written on more but alas, I do not have a keyboard and will not be obtaining one any time soon.

I cannot believe it is December 31st. This year has FLOWN BY and I am trying to process it. I think as I get older, the months go by faster. I am not sure if I like this or not. It could mean that I am just busier and have more on my plate. It doesn't seem that way, though. I have been really good at saying no to things I don't want to do and making the time for things that I do. It is a never ending balance.

For my last post of the year, I wanted to post some photos of our kitchen that we did over this fall. It was a LONG process and many decisions. I LOVE the way it came out, though. The following photos are not staged. I was going to wait to post them until we had our table in and the kitchen was spic and span. However, our table was delayed and the only time my kitchen is uncluttered is at night and if you think these photos are bad-the ones taken at night are worse!!!

The first photos are of our new mudroom. This was previously an outdoor porch that was enclosed and added onto in the front.


We bought the bench at an unfinished furniture place. My handy husband painted it black and I added to pillows from IKEA to complete it. I just have to get baskets and hang a few things on the wall behind it for this room to be complete.


On the opposite wall from the bench is a new closet. I did not show the inside of this closet as it is not organized at all. That will come later when we can find the exact type of organizers we want...or in our case, it never gets done because that is just what happens. (AKA-Chris doesn't care what it looks like when the doors are shut!)


Here are photos of our old and new stove area. I am not a traditional person so I didn't choose a traditional color cabinet. The color is called Pebble Java and the cupboards were made by Wellborn. It is what the contractor carried so we went with it.

Before:

After: (Char was making cupcakes this day so excuse our mess!) Can I say I LOVE this stove!! I have gained 10 pounds since we finished this because I am baking all the time! It is an electric oven and a gas cook top. The oven temp is so even and cakes come out flat on top. And we can finally fit a turkey in our oven. The wall oven we had before was so tiny!


We took our fridge out of the cubby and made it a small pantry. You do not know how much space this freed up in our cabinets. I used to have 5 cabinets of food and now I only have one!

 Before:

After:


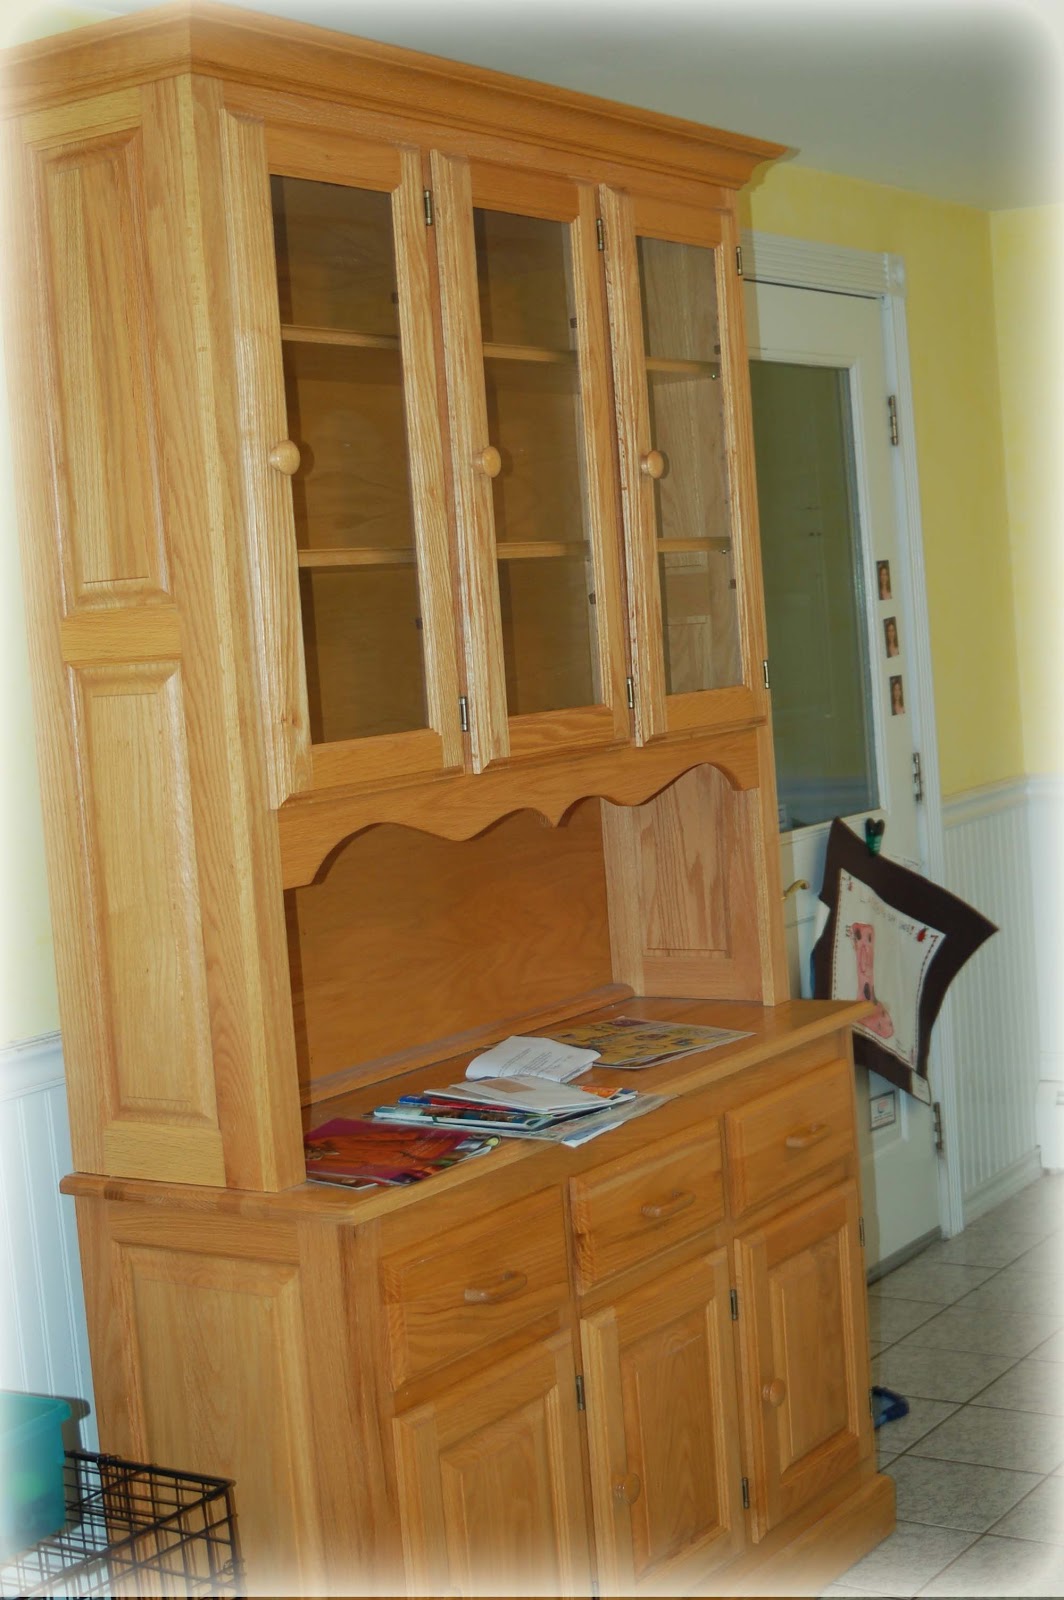
To the left of the cubby, we put a row of cabinets, the fridge and the microwave. Previously this held a useless cabinet and a hutch. The before also shows where our old kitchen door to the front was. That is gone and is now a doorway into the mudroom.

Before:


After:

Our big splurge was a garden window. I cannot tell you how much light this lets in!! I LOVE it! I plan to get herbs to grow in this space but want to do it from seed. Here are before and after photos for this too.

Before:


After:

One of the things we changed was where our dishwasher was. It used to be to the right of the sink which made it a pain to empty. We had it plumbed so it now is to the left of the sink which makes it easier to put things away.

Before:


After:

We also added a breakfast bar. Previously the counter ended with the last cabinet by the door.


We also put in a new back door. The other one was not cut right and it was so cold!! This one is sealed and the new kick plate heat under the sink keeps the kitchen toasty.


This is a close up of the granite. It looks so pretty with the backsplash and the paint!!


This is the tile we put in. I really wanted to put in hardwood but had to settle for tile that looks like hardwood floor. Our dog has "accidents" so we couldn't put in a real one. I really like it, however, it shows EVERYTHING!! I didn't realize how much Zach drips on the floor either. It does look nice with everything, though.


This is how it looks in the hallway that goes into our bedroom and the living room.


I know it might surprise some of you that know me but I am not a decorator. I do not enjoy it. You have to be on the constant lookout for "just the right thing" and I don't have the patience for that. This kitchen is still a work in progress. Thank you for visiting!!

Nora