Sunday, October 5, 2014

Winnie and Walter Challenge #2: Pinspiration Challenge with Vanessa, Color Challenge and some more Copic Practice

Happy Sunday!! Once again I am sharing some of the cards I created for World Card Making day yesterday. I rarely have chunks of time like I did yesterday and I created seven cards, which is a lot for me!!  I played along with the Winnie and Walter blog. It was so much fun!

I actually was disappointed yesterday that there were not more challenges at places. There were chances to win by commenting but not a ton of public places for challenges that I saw. I am probably just viewing the wrong places, though.

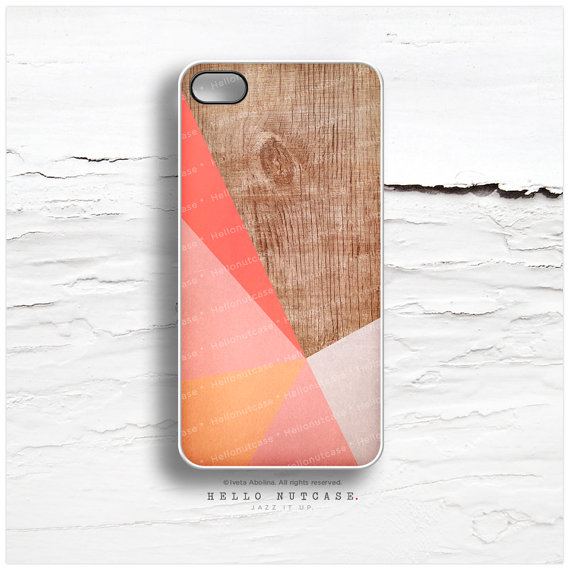
The first card I am sharing was a Pinspiration Challenge by Vanessa. She picked the image below and we had to create a card inspired by that image.


I will be honest, at first I thought this was going to be rough. Then I looked through my patterned paper and had an a ha moment. Below is what I came up with.


My inspiration for the whole card was the wood paper. I was inspired to use the wood paper by the image above. I also used pinks in a geometric pattern, which was also inspired by both the paper and the photo. This card was so fun to make!!

I started by die cutting and inking the kraft paper. I then die cut the wood patterned paper into a rounded rectangle and adhered it over the card base. Next, I die cut strips of paper and overlaid onto the wood.


Once I got that far, I was kind of stumped. I dug through a bunch of stamped images that I have lying around and had another a ha moment. I decided to use a vase of flowers over the wood paper as the focal point. The colors were perfect after I inked them up a little to tone the white of the paper down. 


I know that the inked look is not for everyone but I like how this card came out. 

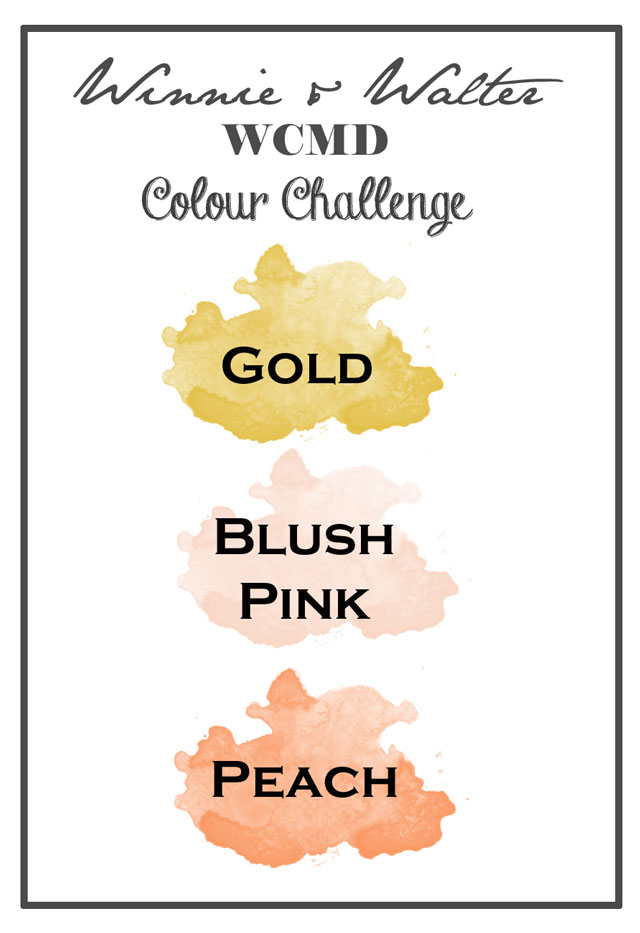
The third challenge was a color challenge. I thought it would be a cinch but I ran in to a few glitches. Well, it was really my fault. I looked at it quick and walked away for lunch. When I came back, I did not look at the colors but thought the challenge was to use blush, pink and gold. I had my first card almost done when I looked back and noticed it was not pink but PEACH. I was so mad at myself!! 


So I had to figure something out to save the card so I could enter the challenge. 


See the banner? That was a cover up of the pink. I actually tried to stamp over the original happy in versa mark and emboss in gold but it look HORRIBLE. I had to figure out something else. The banner was perfect. However, I had to tuck it under the die cut word, which was already glued down with glossy accents. That is why you see the little crease in the h. 

I knew I wanted this card to be clean and simple. I die cut the word happy six times out of blush card stock and glued five layers together. The snow flakes were die cut from the same color while the sentiment dried. I then stamped the word happy in PINK and adhered "holiday" to the card. When I found out it was supposed to be peach, I substituted the banner. Of course, I don't own peach so I used a melon ink instead. 


I then adhered all of the snowflakes down. Each of the snowflake centers was embellished with a peach rhinestone. 


The last step was to use gold Stickles on the bottom half of the die cut sentiment. I am going to actually put a little more on as the glitter area shrunk as it dried. 


It is different, I will give it that. 

I also made a second card as I had enough die cuts to make two. On the second one, though, I did not layer the sentiment die cut and stamped the word happy directly onto the card stock.


Instead of the gold being on the sentiment, I splattered gold mist onto the background. I then adhered all the die cuts.


I then added some clear Wink of Stella onto the die cut and dried it with a heat gun.


I have to admit that I do not like this card as well as the first but that is OK. It isn't horrible, just not my favorite. This color challenge wound up being way more difficult then I thought it would be!!

I am going to enter these cards into this months Virginia's View Challenge. The challenge is to make a clean and simple card.


For my last tidbit of the day, I will show you my the last two color sheets for my Copic marker class. Day 6 was all about coloring animals with different colors and textures. I actually had the most fun doing this homework.


My doggies are my favorite!! I like the fox but had a hard time with getting the right shades.

Day #7 of the class was the use of difficult colors. They are not lying about this!! I only colored one image on this practice sheet and it is HORRID.


I should not really get that down on myself as part of the reason it is so bad is that I did not have the right colored dark markers. I have about ten on my list that I want for Christmas, as well as about ten refills of my most used colors. Quite an expense!!!

That is all for now. I hope to post my mason jar I created for Paper Trey Ink's "Make it Monday" challenge later. I still have a bit to do on it, though. 

Thank you for stopping by.


Supplies:

Pinspiration Challenge Card:


Color Challenge Card:

Saturday, October 4, 2014

World Card Making Day with Winnie and Walter Challenge-On Trend: Cameras

Hello again!! This is my second post of the day. I have been busy creating cards for World Card Making day. I browsed a lot of blogs but the one that I kept going back to was the Winnie and Walter blog. They posted some really fun challenges and I played along with four of them today. I might do some more tomorrow if I have time too!!


The first challenge posted was to create a card using a camera as a theme. I created a fun birthday card.


The first thing I did was to choose a color scheme. I had the background scrap sitting on my desk so I decided to use that. Then, I die cut the circle out of a gray scrap, the camera out of various colored scraps and the photo frame out of white. All the dies I used were from My Favorite Things. Next I stamped the sentiment onto the circle in black ink and adhered it to the card.

I adhered the camera next, piecing it together piece by piece.


The little square at the top was originally a die cut Polaroid frame but I cut part of it off due to spacial reasons. It wasn't a requirement to use Winnie and Walter stamps for these challenges but I chose to do so on this card. (I only have one Winnie and Walter stamp set too. I LOVE their stuff but I am on a no buying challenge right now and have been since August. It is KILLING me!!) I stamped some fun images from their "Big Bang Bling" set.


I inked the stamped square up with stone ink and adhered bot the frame and center onto the card. I then added some blue bling and it was done. So simple but I think so effective!!


I wanted to use my Soufflé pen to add some color in the word "snappy" but the darn things were dried out!! I attempted to put the one I wanted to use in hot water to try to loosen it up but it didn't work. If anyone has any suggestions, please let me know.

Thanks for stopping by!

 
Supplies:


Simon Says Stamp! Wednesday Challenge and some Copic Practice

Happy WCMD!! It is rainy here so I have been having fun at my desk doing some challenges for World Card Making day. I will post those later.

For this post, though, I wanted to show you a card that I created for Simon Says Stamp Wednesday Challenge blog. This week the challenge was to create a card with a "transport it" theme. Here is the card I made.


I used the "Enjoy the Ride" stamp set by Paper Trey Ink to stamp and die cut the car. I then practiced my Copic coloring for the class I am taking at Online Card Class site. So far I am learning some fabulous techniques. Some I am afraid to do, though, and have not practiced yet. One is creating backgrounds with Copic markers. I am just understanding blending groups, let alone creating a background with them!! This has been a fabulous class so far and I highly recommend it to anyone that wants to learn how to use these markers.

After I colored the car, I layered it over some die cuts that were cut from scraps. I used foam adhesive to give the car a bit of dimension.


I also put a layer of glossy accents on the window, as well as some yellow Stickles on the headlights to give the car a little oomph. My last step was to go over the entire card with a Wink of Stella clear glitter pen.


The design is rather simple but I love how it came out!! I tried to make the colors more masculine, though my husband does not think males drive beetles.

In other news, I thought I would share my Copic class practice sheet I colored for my white and red shading homework.


I did not use the red technique for my car, which I should have. I LOVE how that flower came out, though, don't you? The flower that I like the most for shading "white" is the fourth one. I did not put the colors I used in there for some reason but it was the lighter of the C's. I also used an extremely light touch. For once I did not go out of the lines!! I think I am finally getting used to the paper I copied the images on. It is different then what I usually use.

Again, I am entering the card above into Simon Says Stamp Wednesday challenge.


That is all for now. I will be posting again a little later with some other cards I created for World Card Making Day!! Thank you for stopping by!!


Supplies:
Stamps-Paper Trey Ink
Dies-My Favorite Things (Black Flag and Square), Paper Trey Ink (car and banner)
Ink-Momenta Tuxedo Black
Other-Glossy Accents, Yellow Stickles, Copic Markers