Saturday, July 31, 2021

Graduation Cards in August??

Happy Saturday everyone!! It is a PERFECT DAY in Connecticut-sunny, not too hot and very low humidity. I wish all days could be like this!! 

Today I am popping in with some Graduation cards. Yes, you heard it right, I am posting Graduation cards in August. To be honest, I had the last three cards created in May but only sent out one! The card below I made this week to send out to one of my husband's cousins.

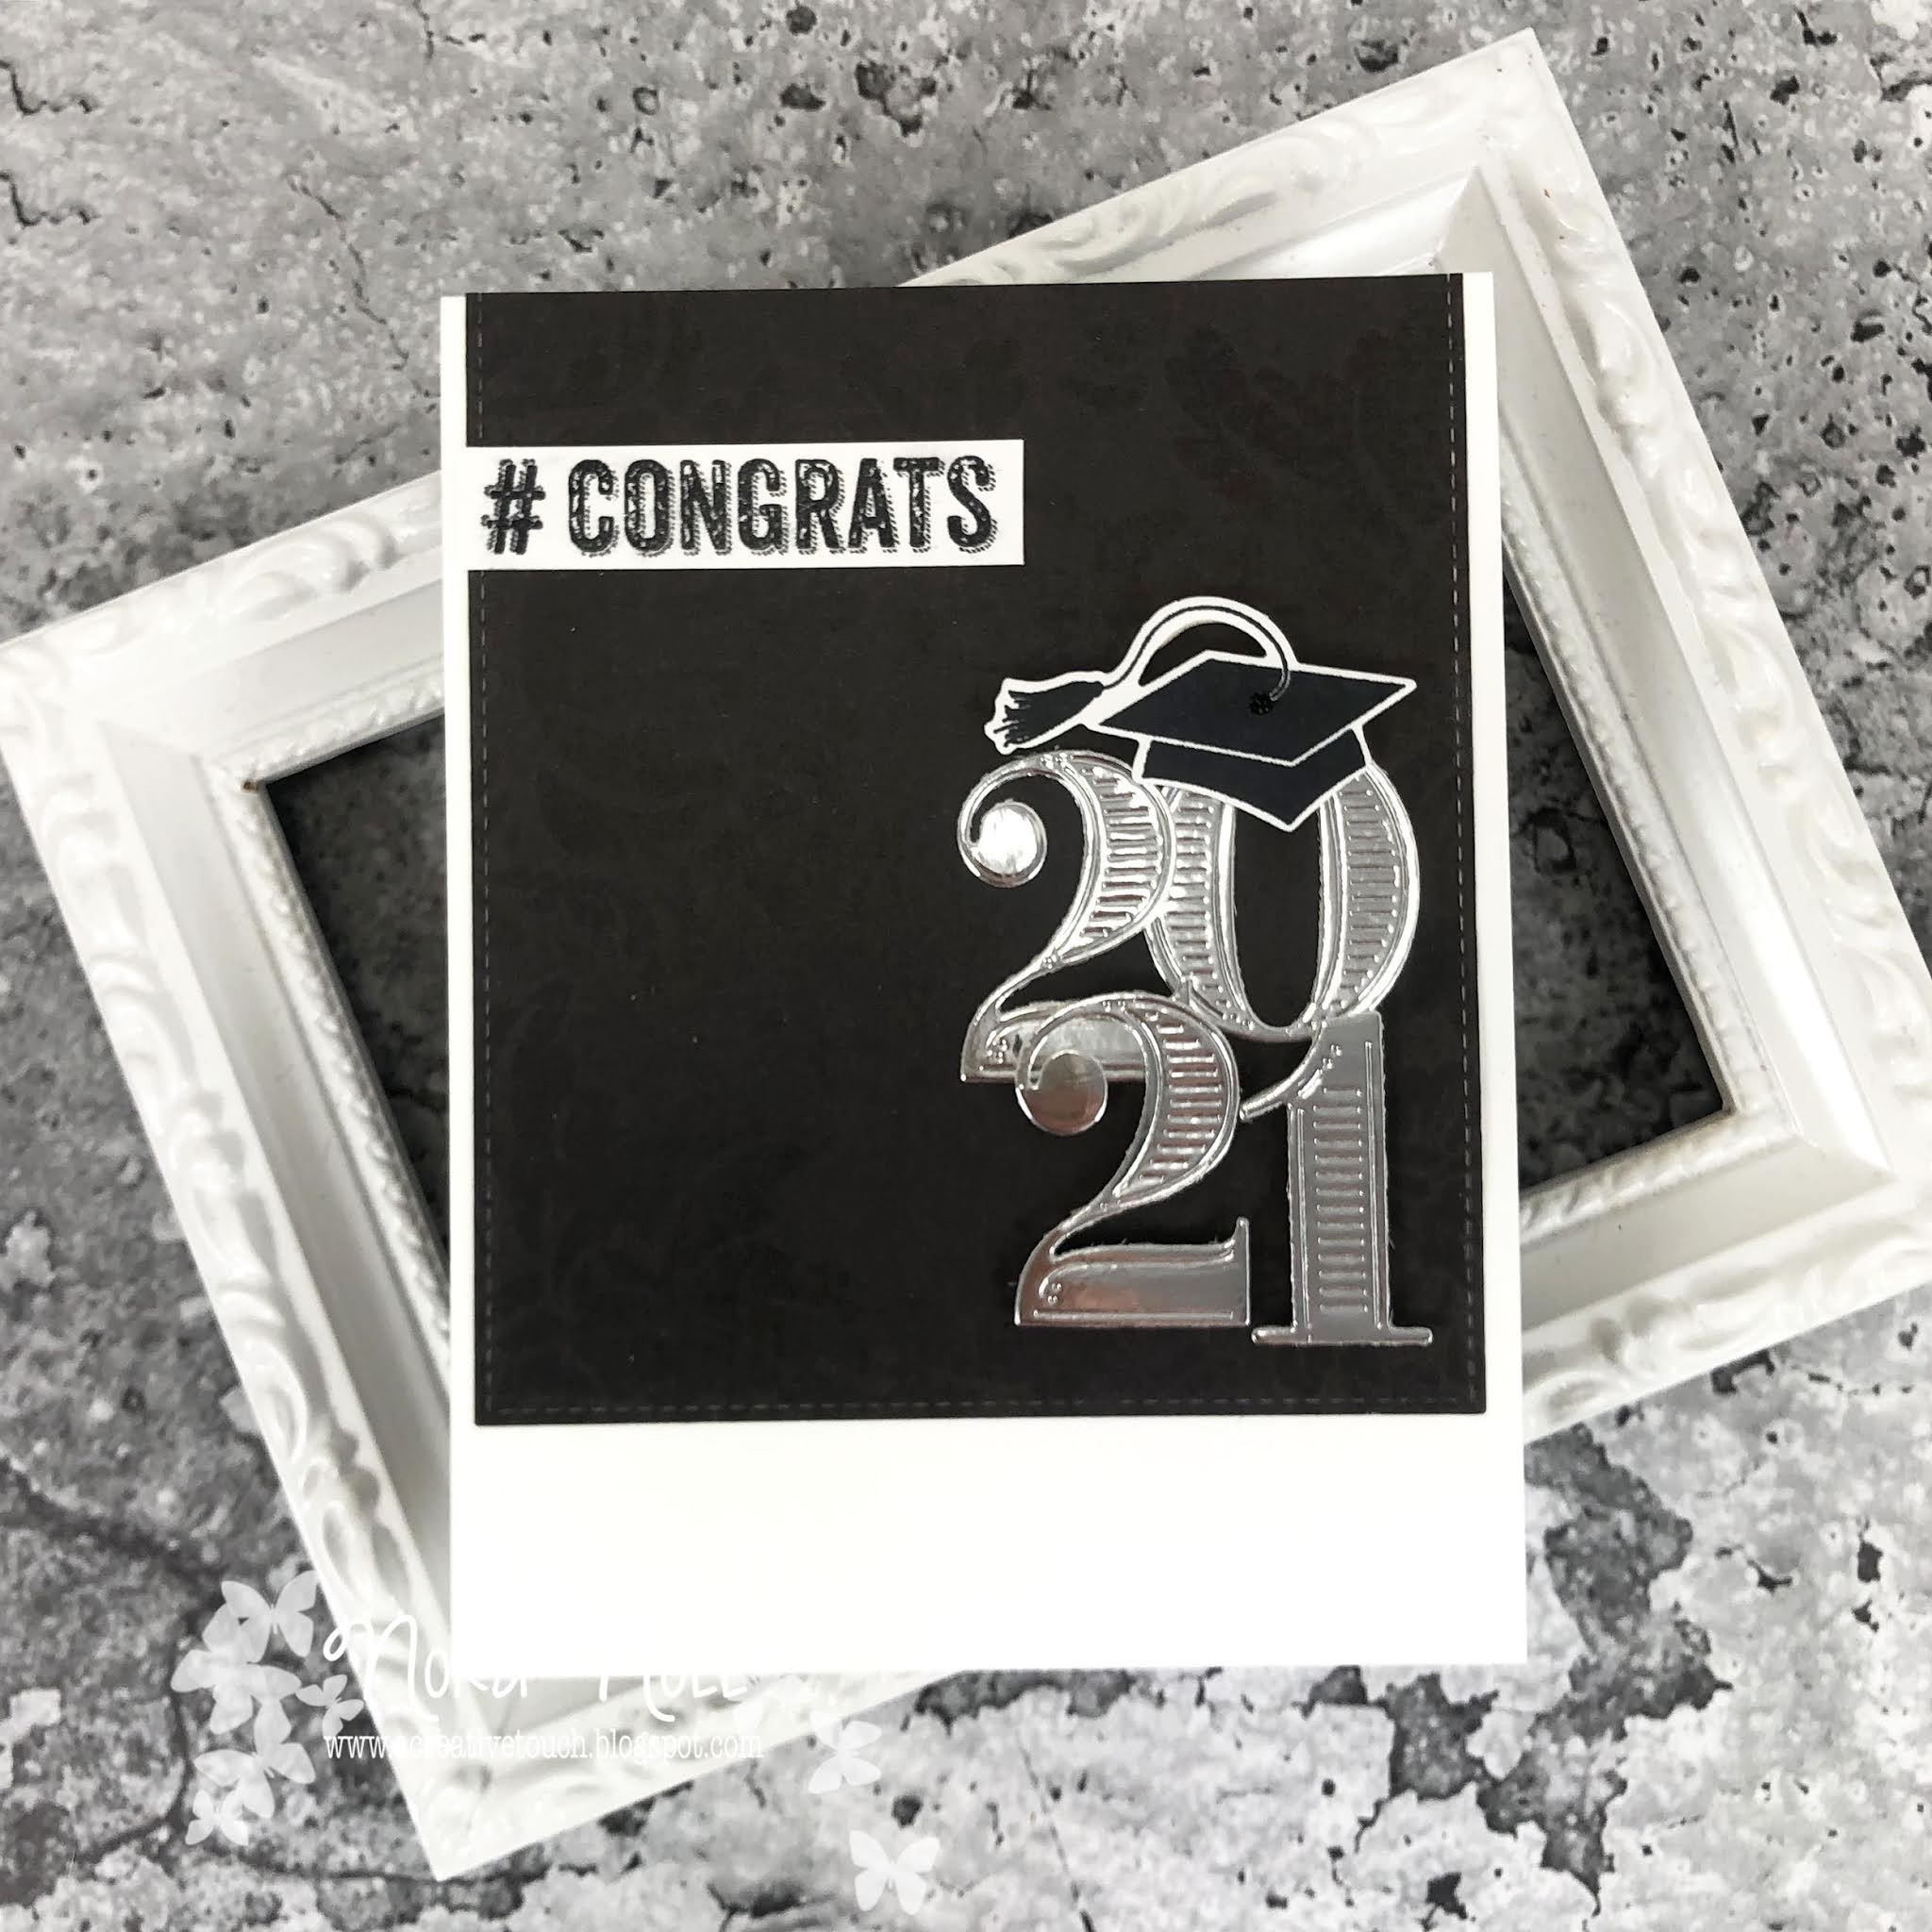
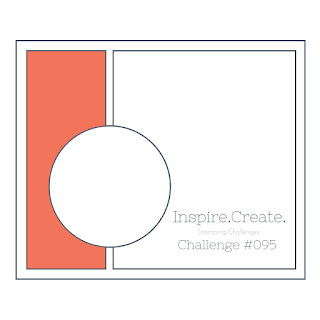
I used this weeks Global Design Project's Sketch (#GPD302)- as the bones of my card. I did change the "label" on the sketch to the numbers block. I figured attaching the numbers, the hat and the sentiment would work well for this sketch. 


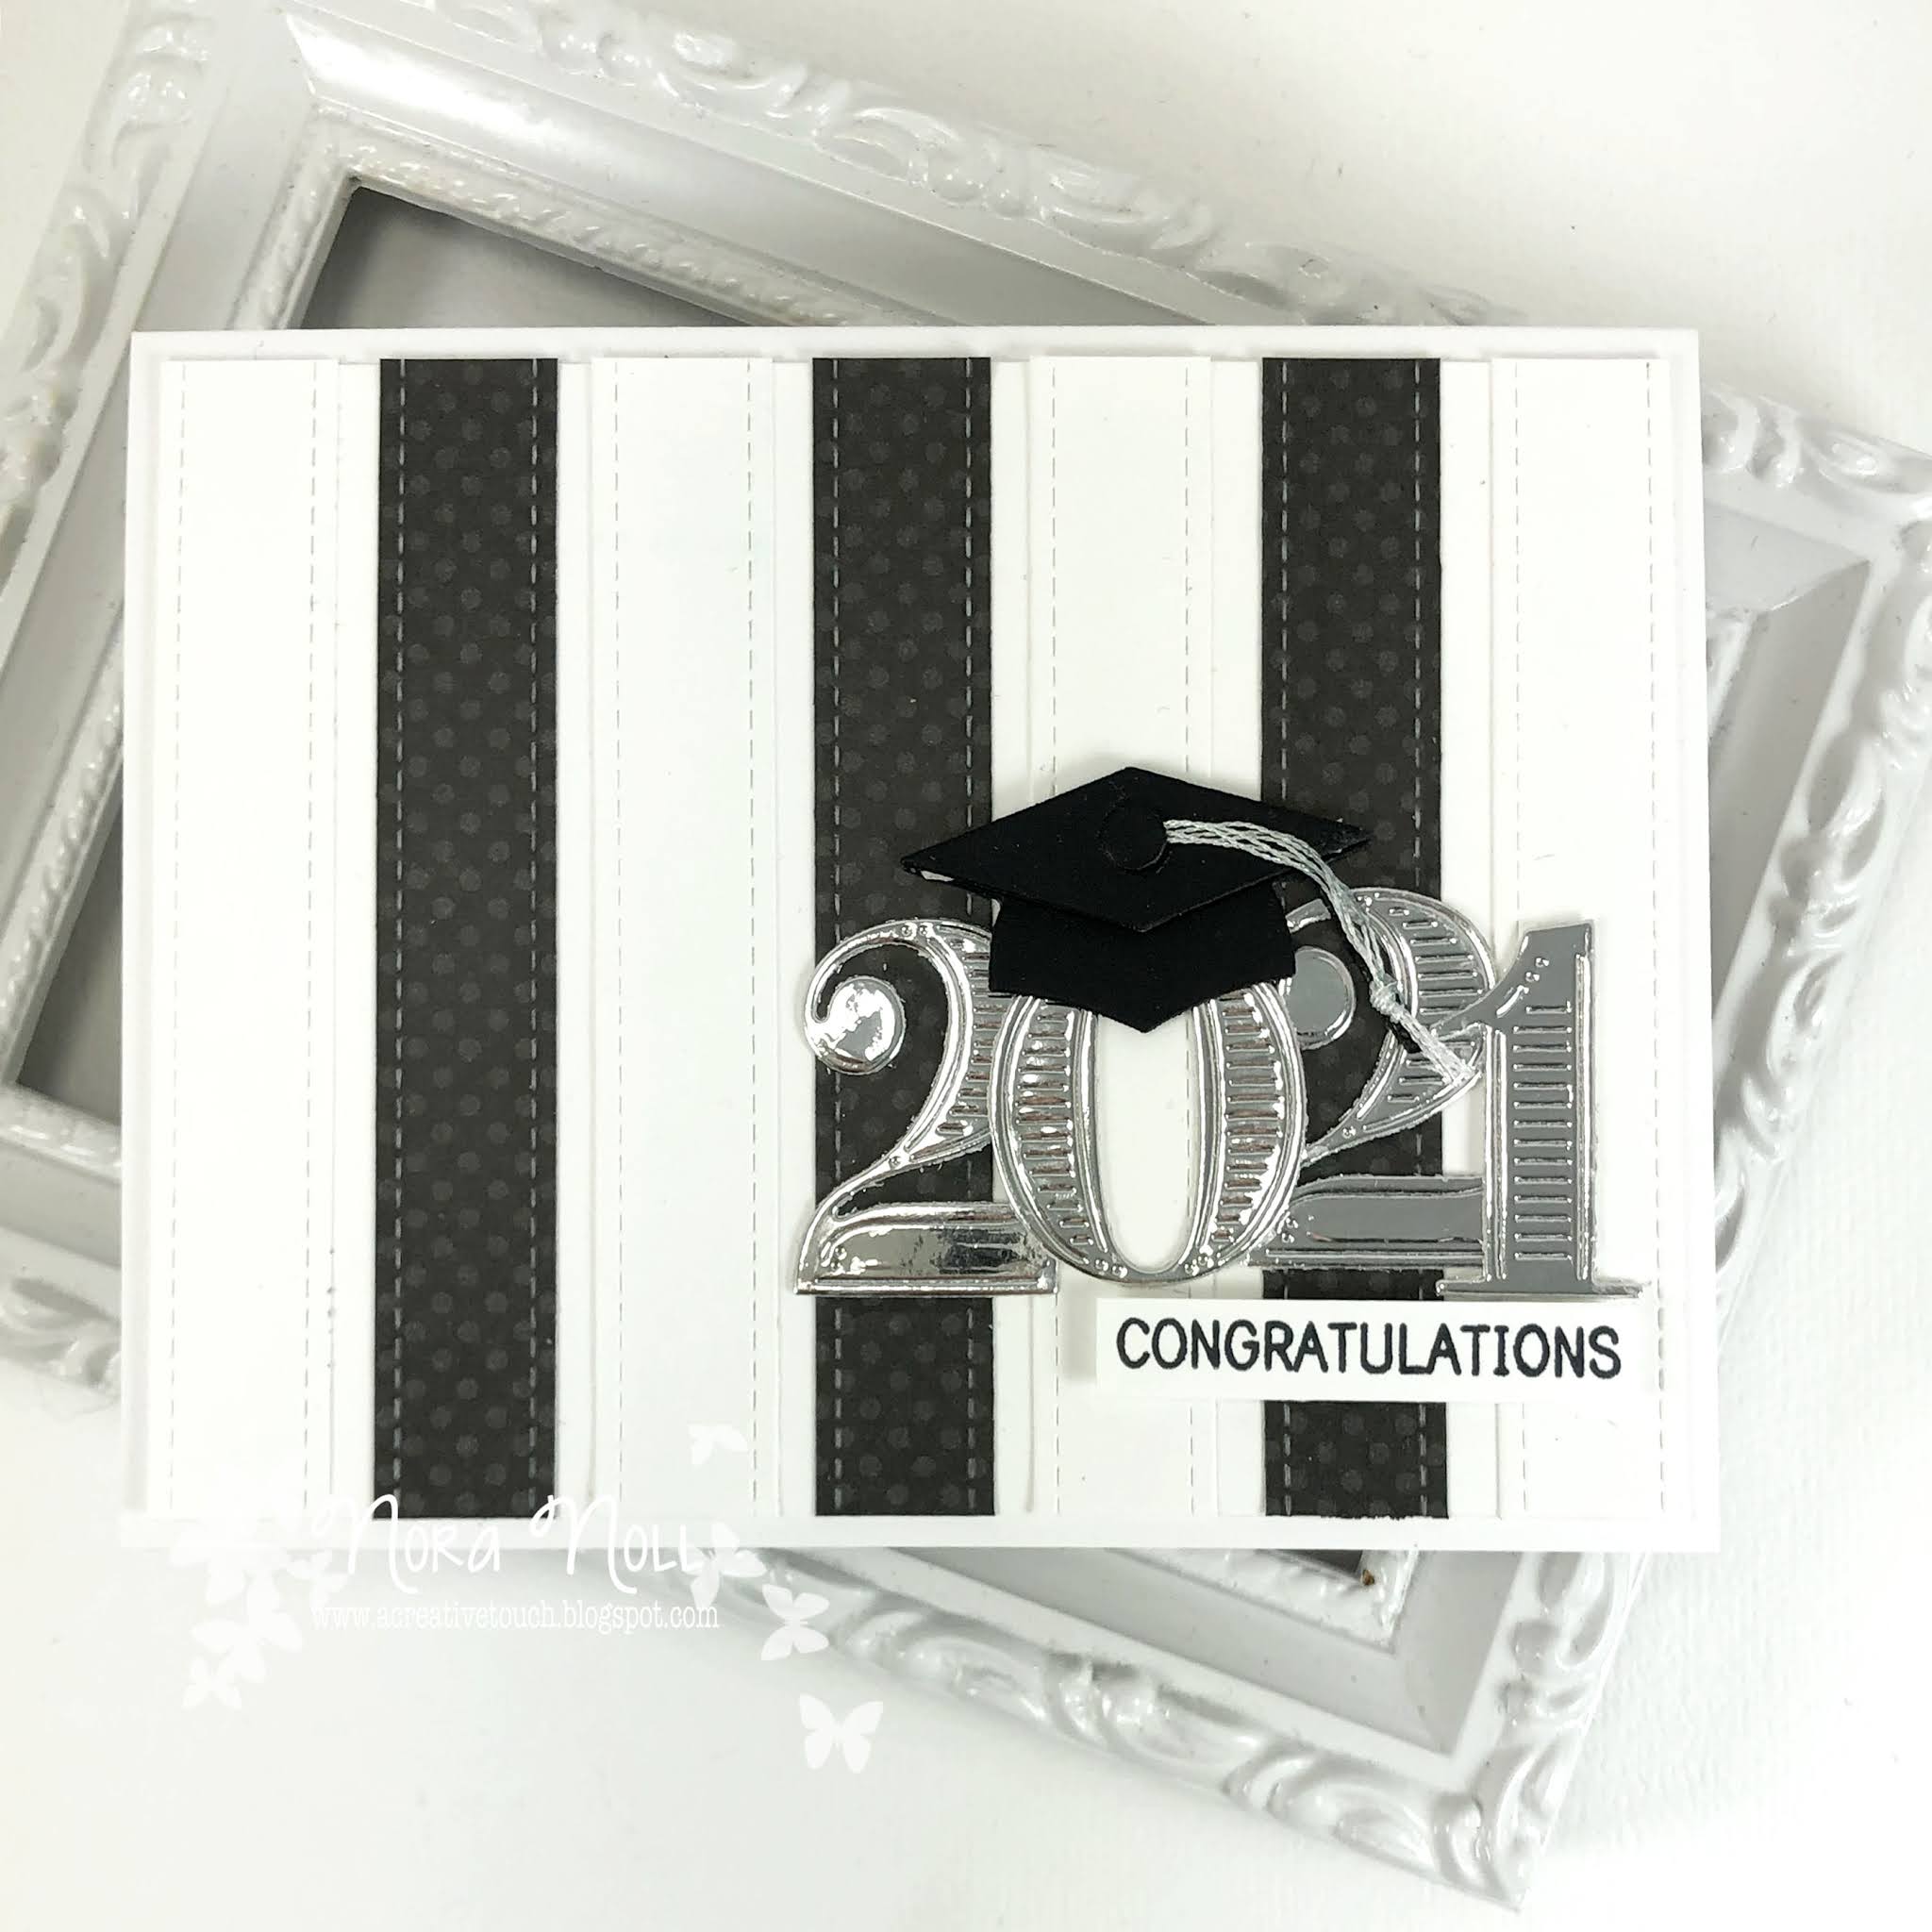
I used an MFT Blueprints Die to die cut the white and black polka dot stitched stripes. The mirrored cardstock numbers were die cut from Chrome Silver Tonic Cardstock using The Greetery's Bold Numbers Dies


The little cap was die cut using the Sugar Pea Designs For the Graduate dies and the sentiment is from Sweet and Sassy Stamps. 

I cannot tell you how much fun it was to make this card! I am also going to enter this in this weeks Watercooler Wednesday Challenge-wwc321. It is Tristan's challenge and it is to make a Masculine card.

Even though this is for a girl, I am thinking it is more generic than most of the cards I create.

I created the next two cards for my cousins. They are twins and graduated HS in May. I just sent out the cards on Thursday. I am so horrible!!! 

Again, I used The Greetery's Bold Numbers Dies as my focal point and built on this with a retired Paper Trey Ink set.


I added some scraps of silver cardstock behind the numbers to ground the whole focal point.

For the second card, I used black paper over a white card base, with silver numbers.


The hat is from Paper Trey Ink and the sentiment is from a retired CAS-ual Fridays stamp.


The black paper on the card front was from my scraps and is actually HALLOWEEN paper!! It didn't have a distinct Halloween pattern so I used it.

I am posting one more card that I forgot I made. I created this one for my nephew's college graduation. This was the only card that was sent out on time!!


I have to admit that this was the first card I created and actually was the inspiration for the second card I posted. Instead of using silver cardstock behind the numbers, I chose to randomly adhere silver paper stars.


I am so happy with how all these cards came out and am just ashamed of myself that it took so long for me to send them!

That is it for me today. I want to thank you for taking the time to stop by. 
Have a FABULOUS day!!


Wednesday, July 28, 2021

A Card for a Challenge

Hello everyone!! Just popping in with a card that I created for the Inspire.Create.Challenge blog. I only have a REALLY short time to get it in so here I am!

I bought some fun things from Pretty Pink Posh this month and I NEEDED to use the Vacation Scene Die for my card. 


I colored this in with Copic Markers to make it pop off my card base. I flipped the sketch too. Instead of horizontal, I made it a portrait card. Below is the Inspire.Create.Challenge #95 sketch that inspired me.


I put aside the Vacation Die Cut while I prepared the background.


I added a piece of white cardstock that I had dry embossed and layered it over a white, A2, Top folding, card base. (have no idea who made the folder, sorry!) I added my last piece of Basic Grey at the top.


I layered the colored die cut over my card front and used foam adhesive to pop up my Waffle Flower "Sisterhood" sentiment. 


I added some Nuvo Crystal Drops on top of the green part of the umbrella and I was finished. I am actually going to make this a Retirement Card by stamping Happy Retirement inside. This looks like a Retirement Card, right? This is how I want to retire...even though I don't LOVE the beach!!!

Well, that is all form me today. Again, just wanted to pop in with my card for this challenge.

I thank you for taking the time to stop by. Have a FABULOUS day!!


Monday, July 26, 2021

Final Day of the CAS-ual Fridays July 2021 Release-Falling Leaves Stencil

 Hello Crafty Friends!! This is my second post for today. My first post with the NEW Cupcake Inspirations Challenge #524 is HERE.

I am popping in to show you the card I created with the CAS-Fridays NEW *Falling Leaves Stencil. I actually bit the bullet and made a shaker card-something that is SO NOT ME!!!

I started off this card by using the *Falling Leaves Stencil with Altenew *Seashore Mini Ink Cubes, creating an ombre effect with the leaves. I chose to make them lighter on top and the darkest on the bottom. I die cut the panel with a rectangle die and created my shaker card. (I am not going to do a tutorial on how I did the actual shaker. Here is a good link to show you how it is done.)

I adhered the shaker onto an A2, top folding card front that was the same color as the ink. I used the CAS-Fridays *WTF2 stamp set to stamp two of the sentiments onto white card strips. I adhered both of the sentiments across the top.

I covered the "Who totally forgot?" with a *Clear Sparkle Marker and *Glossy Accents. My last step was to adhere three sequins from the shaker mix around my sentiment block and my card was DONE!

I adore how this came out and have some future ideas on how I am going to use this stencil!!

The *Falling Leaves Stencil, as well as the whole release is available in the *NEW section of the CAS-aul Fridays Shop. Please use my code, NORASENTME, to get an extra 15% off your total order!!!


Be sure to hop on over to the CAS-ual Fridays Blog to see other fabulous projects using this new stencil by the Design Team, as well as to enter into a random prize drawing.

That is all from me today. I want to thank each and every one of you for stopping by this week for all my new creations. I hope you all have a FABULOUS week!!!


***All links starred with an asterisk are Affiliate links that if used, are no extra cost to you. 

Time for a New Challenge at Cupcake Inspirations!!!

 Hi everyone!! Today I am popping in with a card I created for the new Cupcake Inspirations Challenge #524-Balloons. 

I used a digital stamp from Laurie Furnill Ink on Etsy. She generously donated to "The Sweeties" her Animal Digital Stamps to play with this round. 

To be honest, I had NEVER used a digital stamp before. It was a learning curve for me because you can resize them so you can add more than one a card. Since I wanted to do some detail coloring, I chose to only use one of the images on my card.

I used Copic markers in the warm grays (W00-W04) to color in my mouse. I did a dot technique to give her fur some texture. Below is the inspiration photo. I did not choose to use the colors as my inspiration but the theme.

The sky was created using a stencil and Tumbled Glass Distress Ink. 

The sentiment is from my stash. I altered it because I wanted something smaller for my card. Again, if I had more experience with using the digital stamp, I could have moved the adorable mouse over to use a more dynamic sentiment.

I layered the mouse over some colored cardstock that matched some of the colors I used for her outfit. I also chose to use some Glossy Accents over the pink balloon to give it some shine. 

This card was a lot of fun to make and I will definatly be playing around with digital stamps in the future. Be sure to check out the Cupcake Inspirations Blog to find out how to be eligible to win some images from Laurie Furnell Ink as well as to see some fabulous projects designed by the other design team members.

That is all from me today. I want to thank you for taking the time to stop by!!! Have a FABULOUS day!!!


Sunday, July 25, 2021

Day 3 of the CAS-ual Fridays 2021 July Release-Partly Cloudy Stencil

Hello Crafty Friends!! 

I am popping in today with a simple card that I created using the new CAS-ual Fridays *Partly Cloudy Stencil. I am going to admit that this is my favorite stencil from the release!!!

I started off this card by stenciling the sun from the *Partly Cloudy Stencil using *Squeezed Lemonade Distress Ink. 

I then went over the stencil with *Mustard Seed Distress Ink.


The last ink I blended over the top of the sun stencil was Wild Honey Distress Ink. 

To get the blend that I wanted, I then went over the sun again with each ink I used but in reverse order, starting with Mustard Seed and ending with the Wild Honey. When this was dry, I used Hero Arts *Soft Sky dye ink and the edges of the Partly Cloudy Stencil to create the clouds. 

I rotated the stencil edges, using one, flipping the stencil, and then using the new edge, all the way down my paper so that all my clouds were just a tiny bit different.

When this was complete, I cut the panel into a square and distressed the edges. I adhered the square on a top folding, Kraft, A2 card base that I had already placed two square pieces of distressed pattern paper.

I covered the sun with a *Clear Glitter Marker and adhered two, small clouds that were die cut using the *Raindrops Duo dies.

My last step was to adhere a sentiment that I had masked and stamped using the *Supercalifragilistic Stamp set and my card was complete. I LOVE how this card came out and it was so simple to create!!!

The *Partly Cloudy Stencil, as well as the whole release is available now in the *NEW section of the CAS-ual Fridays Shop. Use my code, NORASENTME, to get an extra 15% off your total order, including sale items!!


Be sure to hop on over to the CAS-ual Fridays Blog to see all the other projects by the Design Team and to be entered into a drawing for a prize. 

That is all from me today. I thank you for taking the time to stop by. Be sure to pop in tomorrow for the last day of the release!!


****All starred links are Affiliate links. Affiliate links are links that cost you nothing but give me a minimal amount of money to spend on more product!!!

Saturday, July 24, 2021

Day 2 of July 2021 CAS-ual Fridays Stamps Release-Jewish Stars Stencil

Hello everyone!! It is Day 2 of the CAS-ual Fridays Stamps release and I am posting a card I created using the NEW *Jewish Star Stencil


I created my background by stenciling with *Blueprint Sketch Distress Ink and the *Jewish Star Stencil onto an A2, white card base. 

I then added a white die cut circle over the top. I covered some of the stars using a *Clear Glitter Brush Marker and others with some *Glossy Accents.

I die cut Happy Chanukah out of white and Tonic *Blue Metallic cardstock using the *Happy Hanukkah Dies. I adhered the two layers together using *Ranger Multi-matte and then adhered the sentiment to  card front. 

My last step was to adhere some sliver sequins around the die cut sentiment.

The Jewish Stars Stencil, as well as the entire release, is now for sale in the NEW section of the *CAS-ual Fridays Shop. Please use my code NORASENTME for 15% off your entire purchase, including sale items!!!

Hop on over to the CAS-ual Fridays Stamps Blog to see projects from the other design team members and to enter a drawing for a prize!!!

That is all from me today. Please pop in tomorrow for Day 3 of the CAS-ual Fridays release!!!


***All starred links are Affiliate links. Affiliate links are links that cost you nothing but give me a minimal amount of money to spend on more product!!!

Friday, July 23, 2021

Day 1 of the July 2021 CAS-ual Fridays Stamps Release-Snowflake Stencil

Happy Friday everyone!! Today I am popping in with a project I created using the NEW *Snowflake Stencil from CAS-ual Fridays Stamps.

I started off by using a circle stencil to blend *Stormy Sky Distress Ink onto a white card front. I then used the *Snowflake Stencil to stencil some snowflakes and snowfall along the sides.

Next I stamped my sentiment using the *Snowy Sayings Stamp Set with black ink. I also stamped some tiny snowflakes from the set in the circle using some blue dye ink.

I die cut some snowflakes using the *Funky Flakes dies and adhered them around the circle. I added some *Fresh Snow Glitter Accents in some of the snow fall and put the panel aside to dry.

While the Glitter Glue dried, I used the *Snowflake Stencil to stencil snowflakes in Stormy Sky ink onto a top folding, blue, card base. 

My last step was to adhere the white panel to the blue card base. This was a simple card to create and one that would be easily mass produced in different colors.

This stencil, as well as all the other stencils, are now in the CAS-ual Fridays Stamp Shop under the NEW section. Use my code NORASENTME to get an extra 15% off your total order!!!


Please be sure to travel over to the CAS-ual Fridays Blog to see the cool projects the other DT created and to be entered into a drawing for a prize!!!

That is all from me. I thank you for taking the time to stop by. Have a FABULOUS day!!


****Starred links are affiliate links. Please click on my affiliate links to shop, at no extra cost to you!!!