There are a TON of fun things on this card and I had a hard time choosing. I chose to do the diagonal from the top left to the bottom right with stencil, blues and greens and texture.
I decided that I was going to dig out a stencil from Heidi Swapp and do a plastic wrap technique to get a faux textured look.
I began this card by using painters tape and masking off a piece of white card stock that was cut to 4 1/4" by 5 1/2."
Next I crumpled up a piece of plastic wrap, dipped it in "Cracked Pistachio" Distress Ink (green) and blotted it over the stencil.
I then used "Mermaid Lagoon" Distress Ink (blue) and repeated the process.
Hint-if there is too much white around your stenciled image, just go over it a second time with your colors until you get it the way you would like.
I took the stencil off and trimmed my card stock on each side so the panel measured 3 3/4" by 5 1/2."
I wanted the heart and the sentiment to pop a little off the card but since it was only one layer, I needed to figure out how I was going to emphasize it. I decided to use a dry embossing technique and outlined the heart and the "happy" with a stylus.
I flipped the paper over and went over the opposite areas on the back. This popped the edges of the heart out just enough to give it a bit of dimension.
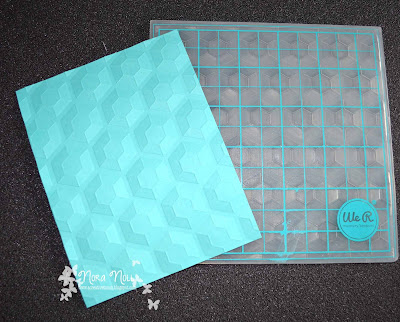
I then embossed (texture) a piece of Paper Trey Ink "Hawaiian Shores" card stock with a We R Memory Keepers Embossing folder. I adhered the folder to a top folding, white, A2 sized card base.
I then adhered the white stenciled panel over the embossed card stock with adhesive foam.
I used foam adhesive to adhere the "birthday" sentiment that I had stamped with Simon Says Stamps "Island Blue" dye ink from Mama Elephants "Happy Everything" set.
To complete the card, I used "Mermaid Green" and "Varsity Sequin Mix" from SpiegelMom Scraps for a little extra oomph to the front of the card.
This card was so easy and a lot of fun to make. I urge you to give the plastic wrap technique a try!! For more fun inspiration, please go to Stamping Smiles Designs Tic-Tac-Toe Challenge Blog #18.
I thank you for stopping by today.


