Showing posts with label Tags. Show all posts

Wednesday, August 14, 2013

WPlus9 "Fresh Cut Florals" Part 4

Happy Hump Day!! I promise, this is the last day I am going to post projects with WPlus9's "Fresh Cut Florals" die and stamp set this week.

Today I am sharing a simple tag that I created using the left over flowers I had from the cards I created with this set.


First I die cut the tag out of Little Yellow Bicycles "Carnations" pattern paper using the "Tag # 6" die from Paper Trey Ink. I then die cut the wreath using PTI's "Notched Flower Die" and a Nestabilities circle to make a "wreath." I adhered the "wreath" onto the card with foam adhesive.

Next I arranged the flower elements and adhered them to the front of the wreath on the left using a combination of foam adhesive and regular adhesive.


I then glued the twine bow and used diamond Stickles in the center of the flowers. To finish, I die cut a banner out of white card stock and stamped a sentiment in black. The crystals were added on at the last minute because I felt the tag needed a little something more.

I love the colors on this tag and how the whole project came out. I cannot wait to use it on a gift.

I hope that you have been inspired the last four days by all the projects I created from the "Fresh Cut Florals" set. I AM NOT affiliated with WPlus9 at all but just LOVE this set. If you have any fun projects using these stamps, please let me know. I would love to take a peek at them!!

Thank you for stopping by. Have a great day!!

Nora

Supplies:


Tuesday, January 1, 2013

Happy New Year!!!

I hope everyone had a happy, safe New Years eve. We just spent it watching a movie with Charlotte and I was in bed by 10:30. I am trying to get back into my work habits because over vacation I have gone to bed rather late and slept later then I usually do. Going back to work tomorrow will be interesting!!

Today I thought I would share some of my projects I did for the holidays. Yes, they are over but I wasn't organized enough to post them. I am going to try to do a Christmas Inspiration piece once a month, from tags to ornaments or gifts to get you inspired to create all year. Wouldn't it be nice to be organized for next year's holiday ahead of time?

My first projects are various cards I created. The one below was the EASIEST I have created in a long time. I used a piece of patterned paper over an ivory card stock base. I then layered fun embellishments from Pink Paislee over both. This is a card I did in about 15 minutes-a record for me!!


Supplies: Paper-Basic Grey Aspen Frost Woolen Mittens, Ivory Card Stock; Pink Paislee Parcel Tags, Pink Paislee Ephemera Pack, Pop Dots, Paper Trey Ink Stamp, Vintage Photo Ink; twine

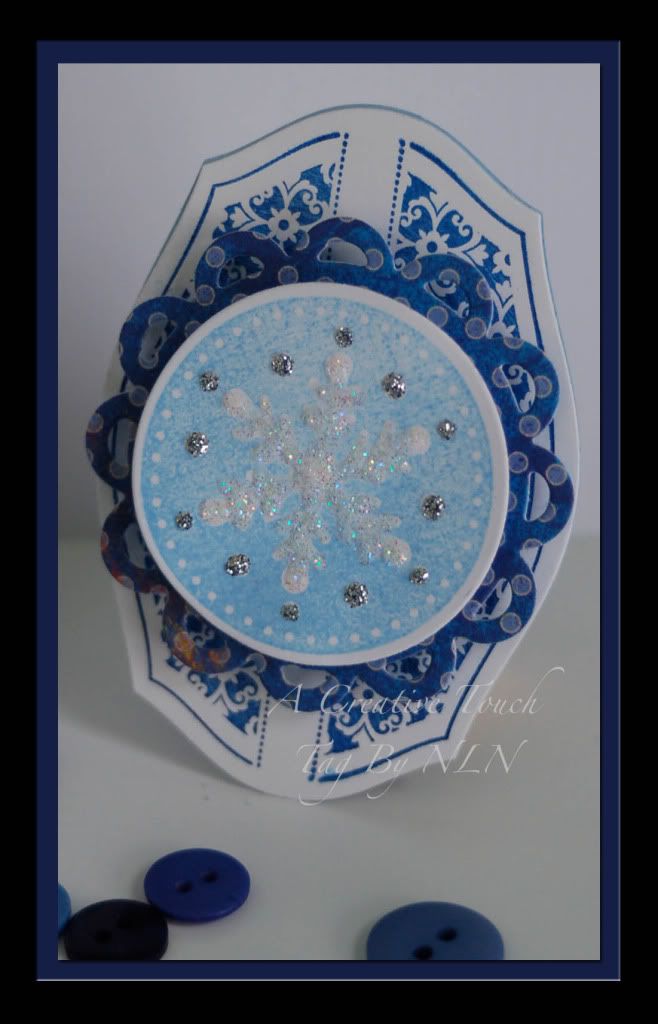
My next card looks just as easy but it took a little more time. That funky star is a die cut that I glittered and then attached over all the layers. I love this card. The star really makes it!!


Supplies: Paper-green, red, ivory, and kraft card stock, Lily Bee Design Christmas Cheer patterned paper; Pink Paislee Parcel Tags; Ink-Red and Vintage Photo Ink; Tim Holtz Large 3-D Die; Red Rhinestones; Technique Tuesday "Be Jolly" stamps; Diamond Stickles

The next one is not my favorite but I am including it because not everything will turn out how you want, will it? The wreath is part of the Pink Paislee Parcel tags pack. I just doctored it up with glitter glue.


Supplies: Paper-Basic Grey Aspen Frost, red and ivory card stock, Pink Paislee Parcel Tags; Pop Dots; Stickles-Diamond and Turquoise; red buttons; ribbon

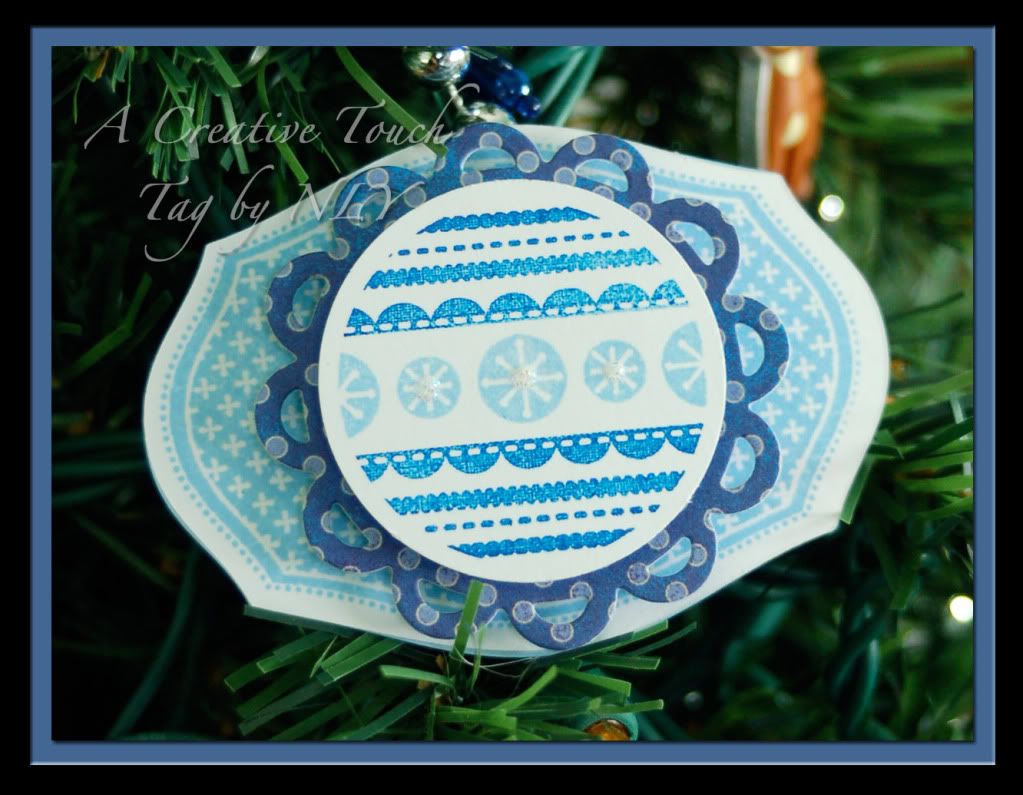
The next card is created by layering paper and then a stamped embellishment over a doily is the focal point. This stamp isn't meant to be a Christmas stamp but I used it on many cards this year.


Supplies: Paper-Lily Bee Design "Christmas Cheer" 6" by 6" paper pad, Red Card stock, Bazzill Basics-"Sheet Music"; Ink-Red, green and Vintage Photo Ink; Stamps-My Mind's Eye "Cutie Pie" Technique Tuesday "Be Jolly" stamps; Martha Stewart Doily.

The next two photos are a project that I saw on Pinterest and have wanted to try for over a year. I am not a wine drinker so I had to enlist some people to help me collect corks. I still need more so everyone I know, save them for me. It would be greatly appreciated!!

I used the Pinterest pin only as a jumping off point and made them my own as aI always do. I NEVER copy anything exactly. Charlotte made the deer on the right and I created the deer on the left. My reindeer is an ornament. Charlotte made fun of it because she thought it looked like it had too much to drink!!


Here is a side view of my deer with the little hook for where the hanger would go. I want to make more of these over the year because I have a ton of friends that I could see gifting one of these to. However, I have to figure out a better way to cut the corks. My husband was on a business trip and Charlotte was afraid I would cut my finger off. She had all the first aid supplies and a phone ready in case she had to call for help!!


This next photo is just a few chocolates wrapped with tulle. I stamped a tag, added a bow and a bauble and it is an instant gift. Easy peasy!!


I took A LOT of time with this ornament. I die cut the star, stamped it, glued trim around it, glittered it and added embellishments. It came out fantastic and this is another project I want to create more of for gifts next year. The fun thing about this was I dug through my box of Christmas findings I buy every year on clearance to decorate the front.


Supplies: Paper-white card stock; Tim Holtz 3D Star Die, Hero Arts Stamp, Stickles Diamond Glitter Glue, White Ribbon and trim; Christmas findings.

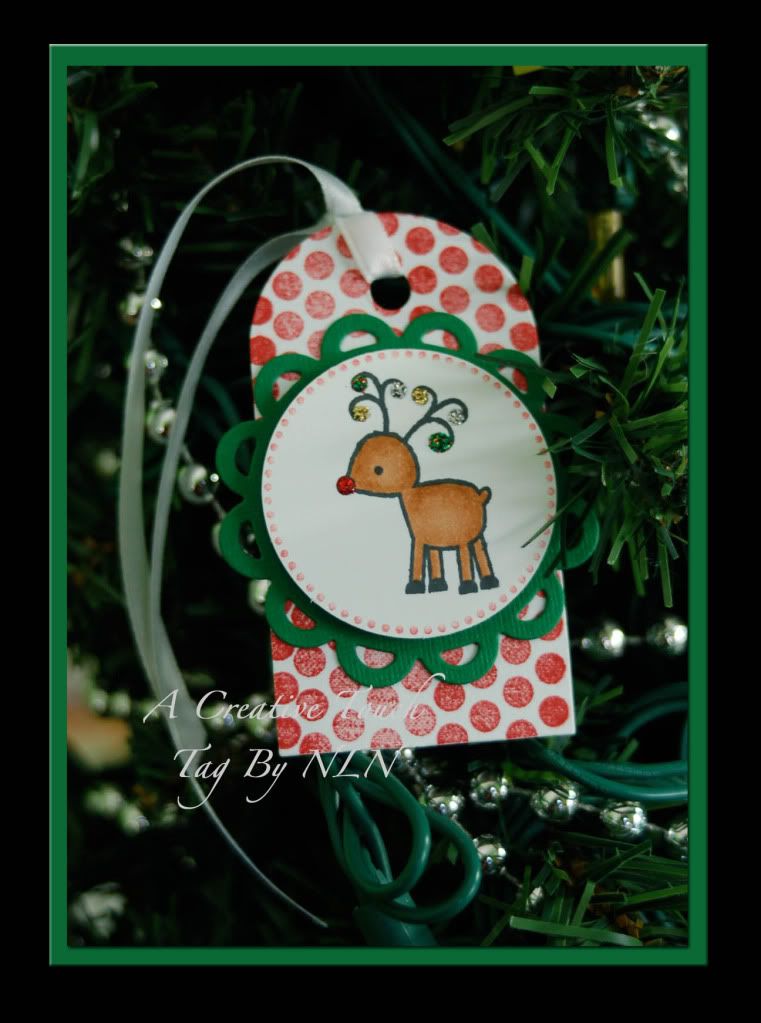
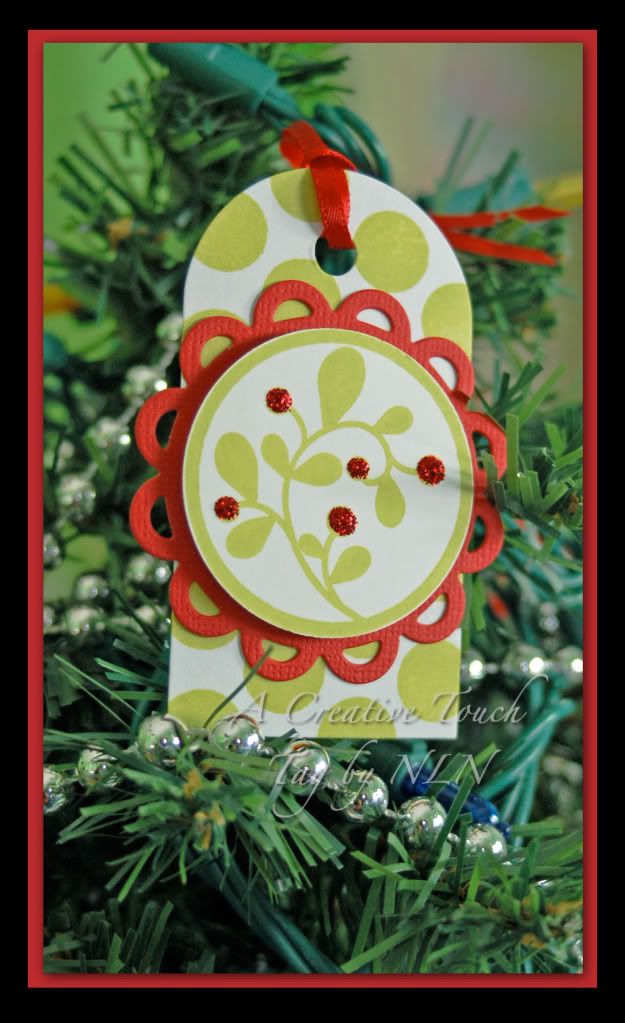
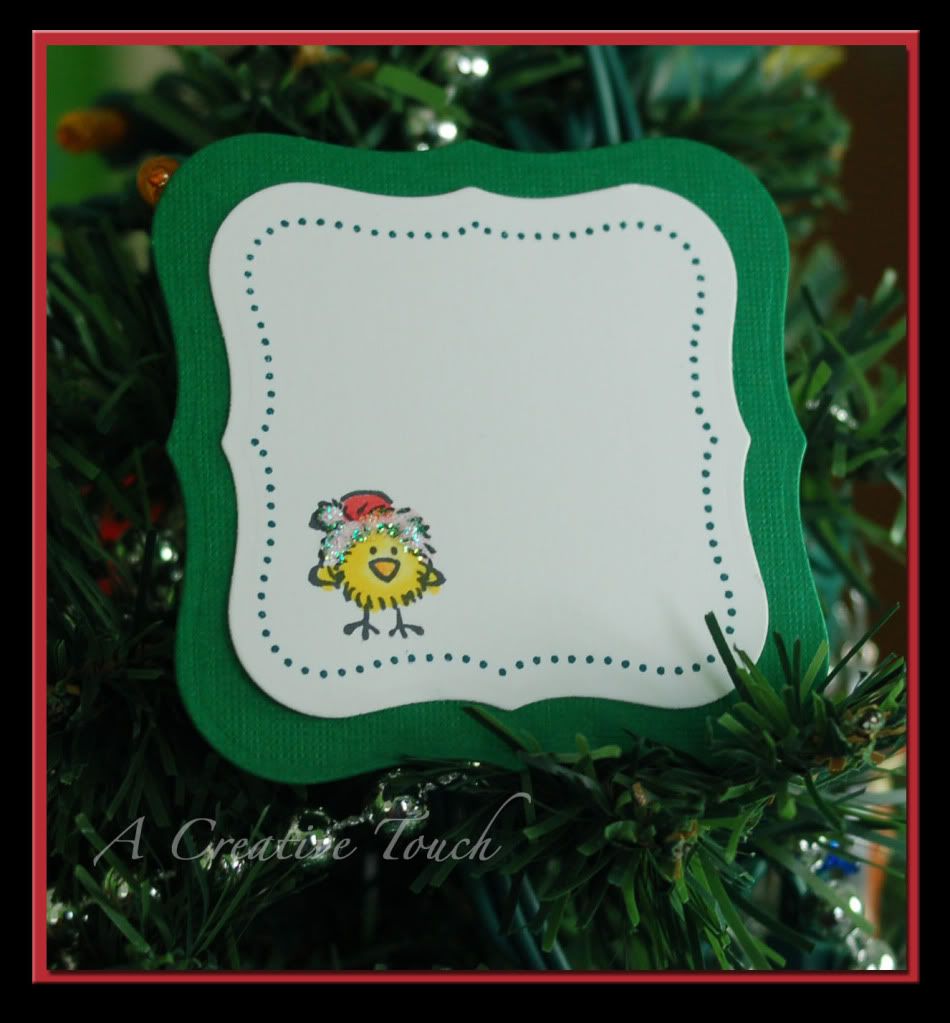
One of the things I try to do when I give a gift is to make my own tags. Often my wrapping is better then the gift inside!!

I created this tag for my niece. I adore this little gingerbread man! Instead of glitter glue I experimented using a glitter paint. It went on nicely however it made the paper curl a bit. I then layered the gingerbread man over a stamped tag.


Supplies: Paper-kraft and white cardstock, scraps of patterned paper; Ink-red and Vintage Photo Ink; glitter paint; pop dots; red Washi Tape; Sizzix Gingerbread Die and Silhouette Tag; Technique Tuesday "Be Jolly" Stamp; 

The next three photos are of a canning jar that I filled with truffles for a co-worker. I covered the top with patterned paper and ribbon to hide the top of the jar.


I then attached a tag I die cut and stamped over a tiny kraft bag. Inside the bag I placed a gift certificate. This woman does so much for the department that I thought she deserved more then the candy!!


I even decorated the inside of the tag. Sometimes it is the little "extras" that make the gift!!


Supplies: Paper-Lily Bee Design-Christmas Cheer; White card stock, Blue card stock, Ink-red and Vintage Photo Ink; Die Cuts: Paper Trey Ink and Silhouette Cameo; red ribbon; canning jar; Paper Trey Ink 2010 Holiday Tag Stamps

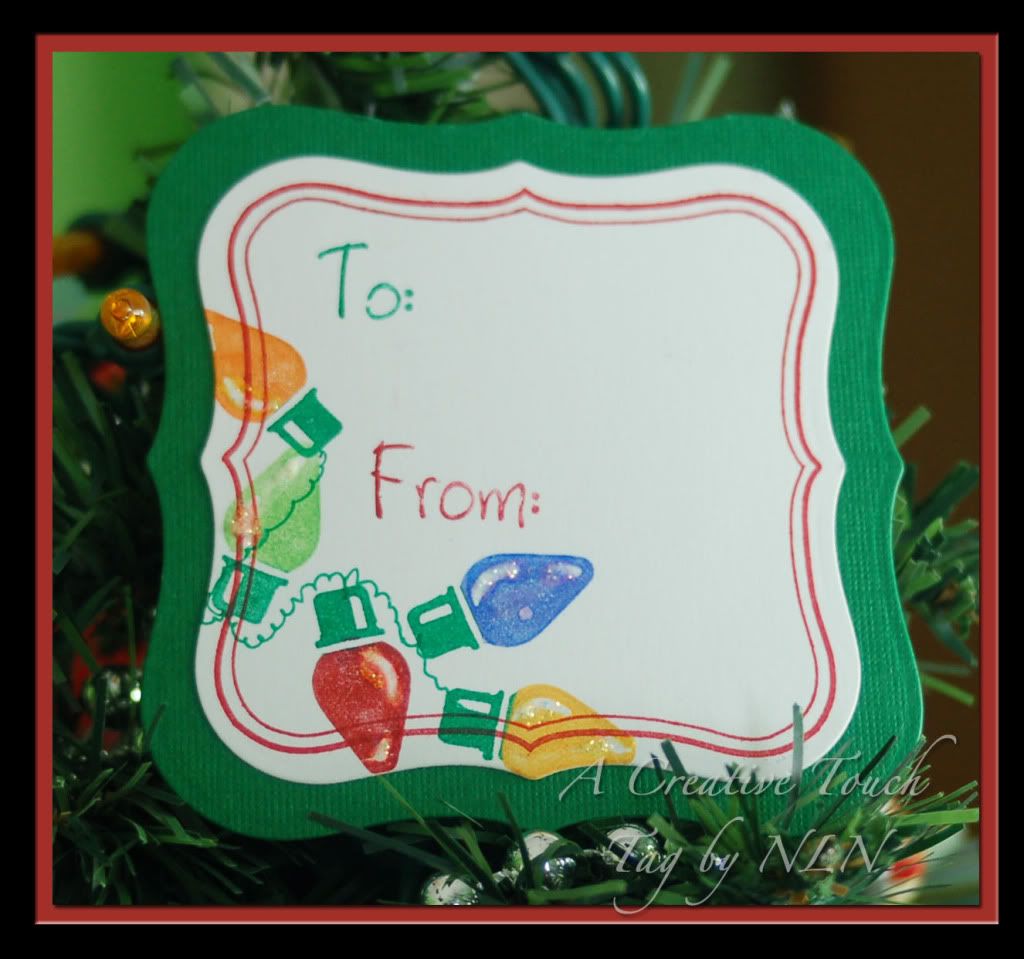
My last addition to this post are of a tag and star I created to top another co-workers gift. I love these little added touches. Presentation goes a long way!! Again, all I used was a die cut machine for the star and tag. I topped them off with bells and some curling ribbon. I LOVE how this came out!!


Supplies: White card stock; blue ink; Simple Stories grey polka dot paper; diamond glitter glue, Die Cuts-Tim Holtz Large 3D Star, Silhouette machine; Stamps-Paper Trey Ink and My Minds Eye.

I hope this inspires you to make some of your own tags and gifts for next year. Happy New Year!!

Nora

Sunday, January 30, 2011

Tag, You're It!!

     I have been busy this week. My order from Paper Trey Ink came in the mail on Tuesday and I have been having fun making Christmas tags all week using the new stamps I received.
     "Christmas tags in January?" Yup. Over at Scrapjazz.com I issued a Christmas Challenge at the beginning of the month to make as many tags or labels for presents as you had time for. I plan to issue a new Christmas Challenge every month so that by the time the holiday rolls around everyone who wants to participate will have some home made goodies ready to give away. If you want to join in, come over to Scrapjazz for our February challenge.
     The first tag I created I used the Paper Trey 2010 Holiday Tag set and the Mat Stack 1 Stamp Collection, as well as the matching Mat Stack 1 die cut. I have to admit that I had trouble getting the Mat Stack Stamp to ink evenly. I tried using both chalk ink and dye ink and neither gave me the crisp image that I was looking for on a consistent basis. However, a few did come out and these are the tags that you see below. I LOVE the look of the stamped tag image and will try to perfect my technique in future creations. You might not be able to tell in the photos but each of the tags is layered with pop dots to give them some dimension. 


Supplies: Stamps: 2010 Holiday Tags and Mat Stack 1from Paper Trey Ink, Dies: Mat Stack 1 and Limitless Layers 1 3/4" Collection by Paper Trey Ink, Inks: Chalk ink by Tsukineko (Red Magic) and Garden Green Ink from Stampin Up!, Paper: White from Stampin Up!, green patterned paper is Graphic 45. Red Stickles, Pop Dots


Supplies: 2010 Holiday Tags, Mat Stack 1 and Limitless Layers 1 3/4" Dies by Paper Trey Ink. Paper: Cardstock-Bazzill, Green Patterned Paper-Graphci 45, Red Dot-Cosmo Cricket, Ink: Tsukineko Chalk Ink (Red Magic and Tea Leaves), Gold Stickles. Pop dots


Supplies: 2010 Holiday Tags, Mat Stack 1 and Limitless Layers 1 3/4" Dies by Paper Trey Ink. Paper: white-Paper Trey Ink, blue dot-My Minds Eye, Ink: Bliss Blue and Brilliant Blue from Stampin Up!, Pop Dots


Supplies: 2010 Holiday Tags, Mat Stack 1 Stamps and Die, Limitless Layers 1 3/4" Die by Paper Trey Ink. Paper: white-Paper Trey Ink, blue dot-My Minds Eye, Ink: Bliss Blue and Brilliant Blue from Stampin Up!, Sliver and Diamond Stickles, Pop Dots

     The next two tags I used the Paper Trey 2010 Holiday Tag stamps but chose to use a rounded Sizzix tag stamped with a dot background. Again, I used foam to make the tags pop.

Supplies: Stamps: 2010 Holiday Tags and Polka Dot Basics II stamps from Paper Trey Ink, Dies: Tag by Sizzix and Limitless Layers 1 3/4" die by Paper Trey Ink, InkTsukineko Chalk Ink (Red Magic) and Memento (Tuxedo Black), Real Red from Stampin Up!, Copic Markers, Stickles: (Gold, RedHolly, and Silver), Paper: White-Stampin Up! and Green Bazzill, Pop Dots


Supplies: Stamps-2010 Holiday Tags and Polk Dot Basics II-Paper Trey Ink, Dies: Tag-Sizzix and Limitless Layers 1 3/4" die-Paper Trey Ink, Paper: Red-American Crafts, White-Stampin Up!, Red Stickles, Pop Dots

     The last two tags I am posting I used supplies that I already had. I am in love with this label die from Paper Trey Ink and have used it on everything from cards, to layouts, to making Charlotte's teacher book labels as part of her Christmas present.


Supplies: Stamps-Vintage Labels-Paper Trey Ink, Chick-Denami Designs, Dies-Label #1-Spellbinders, Ink: Memento (Tuxedo Black) Stampin Up! (Glorious Green), Copic Markers, Diamond Stickles, Paper: white-Stampin Up! and Green-Bazzill


Supplies: Stamps-Vintage Label-Paper Trey Ink, Light-Stamps In Motion, To/From-???, Stampin Up! Markers and Real Red Ink, Spellbinders Label Die and Diamond Stickles.

     That is all for now. Thank you for looking at my tags. I hope some of you will join us over at Scrapjazz in the future for the Christmas Challenges.
Nora