Monday, June 16, 2014

Happy Graduation!!

Today the senior class is graduating at my local high school. They are great kids and I am going to miss the class of 2014!! In honor of the students moving on, I am sharing two cards that I created.

The first card is very simple. Using a My Favorite Things background stamp, I stamped five blue lines on a white card stock background. Next I die cut a white card front with the word "congrats" and misted blue and silver shimmer spray across the front.

I will let you in on a little secret-I really didn't want to use mist spray on this cad. However, I got a little bit of blue ink on my fingers, not realizing it and it got onto the card front. Instead of throwing away all my work, I covered the mistake up with the mist. I think I like it better this way too. A happy accident!!


While the mist was drying, I die cut and stamped a graduation hat in blue. My shimmer dried fast so I adhered the card front onto the white card with foam adhesive, making sure that the blue stripes peeked through the die cut sentiment. I used foam adhesive again to adhere the cap strategically over the R.


I was going to be finished at this stage but the car was calling out for something more. I decided to adhere 3 sequins randomly on the card front and use a Wink of Stella glitter pen on the hat. Can you see the shimmer? I really like how this card came out and it was fun to do.

Supplies:


My next card is one I created using scraps from my desk. I often die cut more then I need and then put them aside. I decided I had enough pieces from another project to make a card.

The first thing I did was mist an Aqua Mist die cut panel using two different shades of shimmer. Because I was impatient, I used my heat gun to dry the mist so I could get on with the next step of adhering the doilies to the panel that were die cut from the same color card stock. The card front was then adhered to an Aqua Mist card base.


On a strip of patterned paper, I stamped a sentiment and then adhered it to the card. My last step was to adhere the vellum butterfly and the button threaded with twine.


 I figure that I can use this card for a birthday or a graduation. Butterflies symbolize so many things-change is one of them. Your life definitely changes after you graduate!!! I haven't decided what I will do with it but I am sure that something will come to me.

I thank you all for browsing today. Have a fabulous beginning of the week.

Nora

Supplies:

Thursday, June 12, 2014

More PTI Building Blocks

Hello everyone!! I hope you are all having a fabulous morning.

On Sunday I promised to post a couple more cards I created using Paper Trey Ink's "Building Blocks" set. Can I say that I LOVE this set? It is so easy to create quick cards with.

The first card I created was a birthday card. I die cut pieces of scraps into strips using the matching "Building Blocks" dies. I then the matching stamps to stamp on the first three strips and a mixture of stamps for the sentiments on the last two. I then used foam adhesive to adhere the strips to a white card front.


Next, I used a cup cake from the WPlus9 set "Sweets and Treats" that I had lying around on my desk. Lately I have been die cutting and coloring little pieces like this so I can make quick cards if I need them.


I added some orange Stickles to make sprinkles on the cup cake. My last step was to adhere different colored sequins randomly on the card. I love the way this looks and will be using this design again.

Supplies:


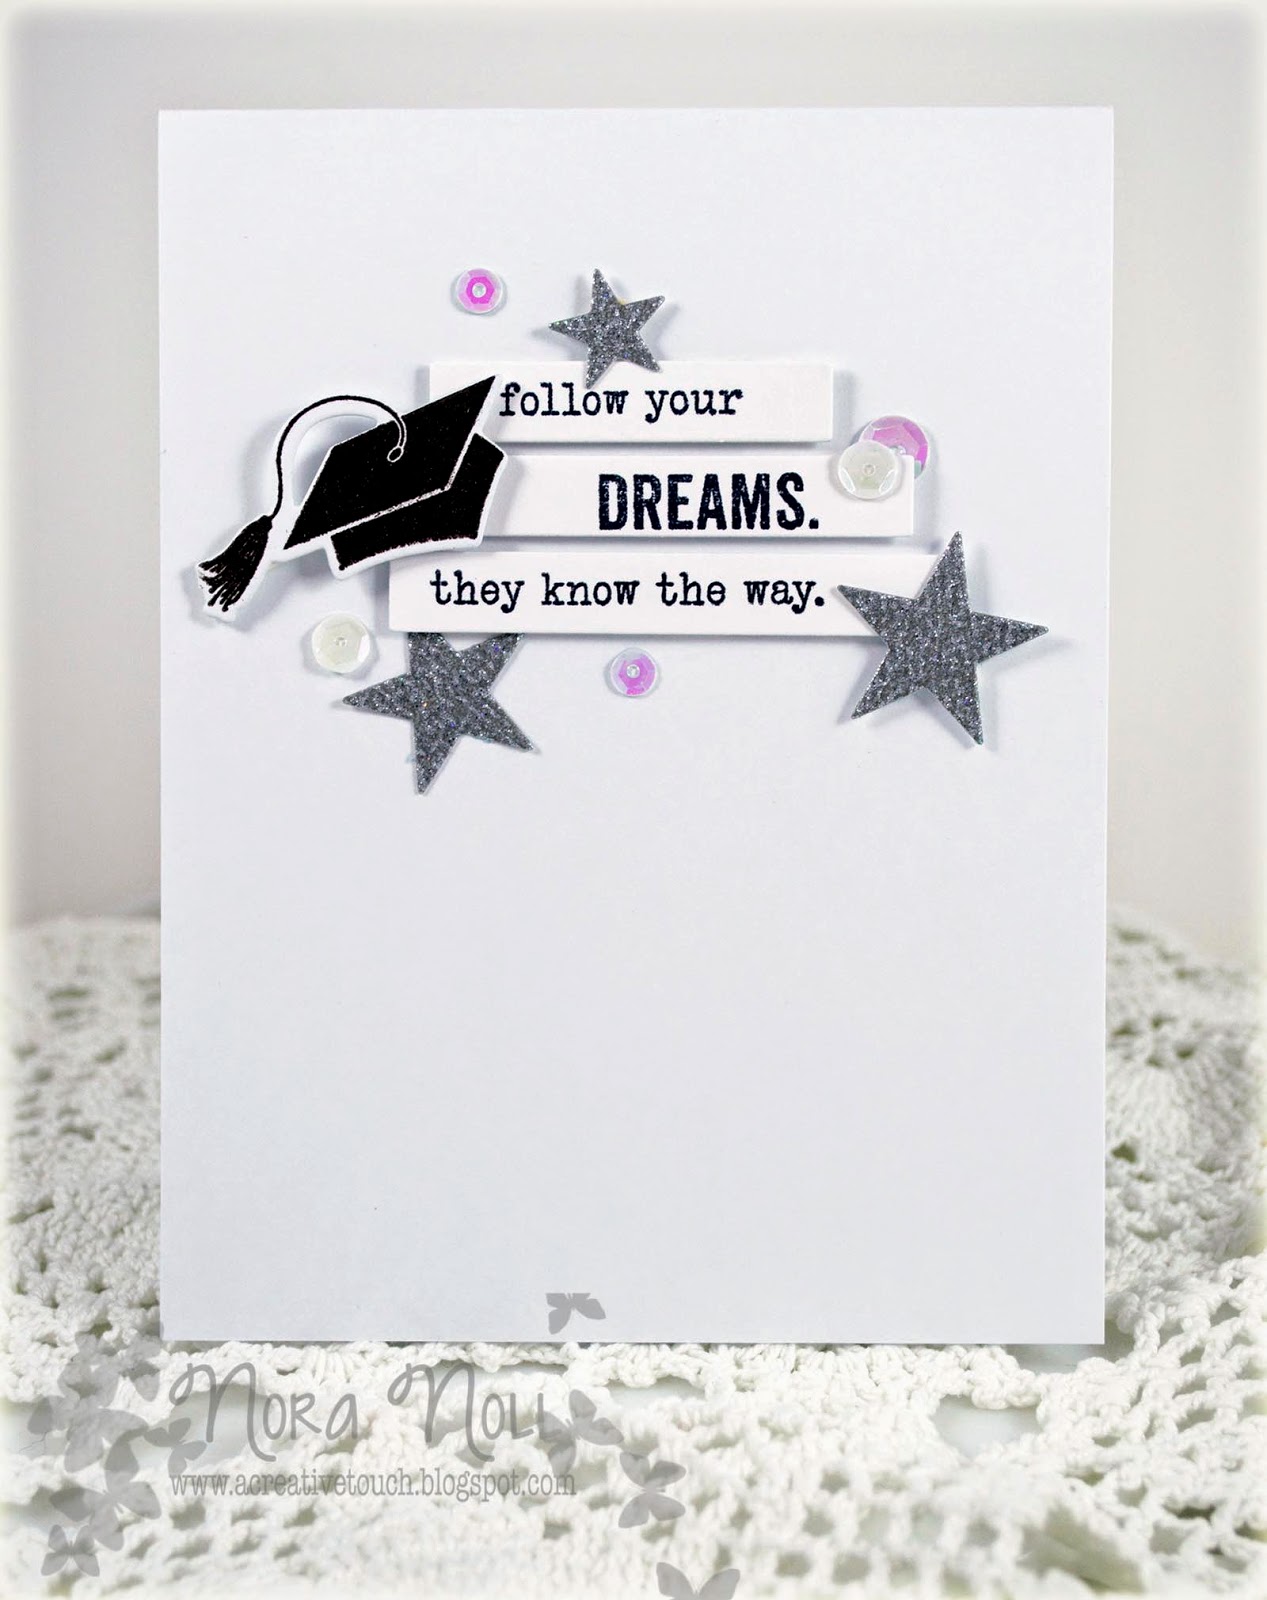
My next card, I used the same basic layout as the card I created on Sunday. Instead of using it as a "friendship" card, I used the same sentiment but made a graduation card. (I told you I had graduation on the brain this week!!)


I die cut, stamped and adhered the sentiment to my white card base using foam adhesive. Next I adhered the hat and then the silver star die cuts. My last step was to adhere the sequins.


It is such a simple card but I LOVE the way it looks!! I think this sentiment is perfect for a graduation card too. Inside I stamped "Happy Graduation" but I was too lazy to get a photo. Sorry.

I thank you for looking today. Have a great day!!

Nora
Supplies:


Wednesday, June 11, 2014

Retro Sketch Card #118

Happy Hump Day!! I hope everyone's Wednesday was as great as mine.

Today was the beginning of exams. Four more days until summer vacation. Whoop!!!

Today I am entering the Retro Sketch #118 Challenge. In honor of the end of school, I created a simple graduation card.


The arrow stamps and the sentiment are from the "Graduation" set by TPC Studio that I got on sale last year. I first stamped the arrows in sapphire pigment ink and then punched them out with a 1" circle punch. I die cut and stamped the banner using Mama Elephants new "Sweet Savanna" set.


I used foam adhesive on the arrows to pop them off the page and then used a Wink of Stella clear pen to give them a little sparkle.

I used a die cuts and stamps from PTI to decorate the inside. I had both die cuts on my desk already from a previous project which helped make this an easy card.


I am kind of graduation card mode this week as all the seniors will be graduating next Monday. I am going to miss the class of 2014. They are such a great group of kids.

Here is the sketch that was my inspiration:


I thank you for looking at my project. I hope you have a fabulous night!!
Nora

Supplies: