Showing posts with label CAS-ual Fridays Pretty Posies. Show all posts

Monday, September 7, 2020

A Fall Card for CAS-ual Fridays Stamps

Happy Monday everyone!! I hope you all had a FABULOUS weekend!!

Today I am over on the CAS-ual Fridays Blog with a step-by-step using Pretty Posies to make a fall card. Below is a sneak peek of the card I created. 

Hop on over the the BLOG to see how I created this card!!!

I thank you for taking the time to stop by!!! Have a FABULOUS day!!


Wednesday, February 27, 2019

A Card Trio

Happy Hump Day everyone!! I hope that you are all doing well. I cannot believe that February is almost over!! It has gone by so fast.

Today I am on the CAS-ual Fridays Stamps blog. I created a trio of cards. Below is a sneak peek of one of them:


Hope on over to the blog to see how I created this card!!

Thanks for stopping by!! Have a FABULOUS day!!


Friday, August 3, 2018

Thinking of You-CAS-ual Fridays Stamps

Happy Friday everyone!! I am up on the CAS-aul Fridays Blog today with a card I created. Below is a sneak peek.


Please hop on over to the blog to see a photo tutorial on how I came up with this card design. Thanks for stopping by!!


Supplies:
(Affiliate links used when possible at no extra cost to you. All are indicated by an *asterisk.)

Stamps-*CAS-ual Fridays Stamps "Calm and Loving," "Breathe," "Pretty Posies" and "Peace and Comfort"
Dies-*CAS-ual Fridays Stamps "Pretty Posies Fri-dies"
Ink-Hero Arts *"Fresh Lawn" and *"Lime Green," Gina K Amalgam Black Ink, *Ranger Mustard Seed Oxide Ink
Paper-*Neenah Solar White
Other-*Big Shot Machine, *Glossy Accents, *Tonic Nuvo Glitter Gloss Marker


Thursday, July 13, 2017

Friday Fun with CAS-ual Fridays and Chameleon Pens

Hello everyone!! Today I am on the CAS-ual Fridays Stamps Blog with two fun projects I created pairing two CAS-ual Fridays Stamps "Pretty Posies" set and "Mon Ami" with Chameleon pens.

I had never used these markers before and it was SO MUCH FUN!!!


Here is a sneak peek of my cards:


For the full card and details, as well as to enter into a random drawing for a $25 Gift Certificate to the CAS-ual Fridays Shop, hop on over to the CAS-ual Fridays Stamps Blog!

Chameleon is also offering a prize package so be sure to hop on over to Changing Color, the Chameleon blog!!!

Thank you for stopping by!!

Chameleon “Color Tone” 22 Pen Deluxe Set
Stamps-CAS-ual Fridays Stamps “Mon Ami” and “Pretty Posies

Dies-CAS-ual Fridays Stamps “Mon Ami Fleur Fri-Dies” and “Posies Fri-Dies

Thursday, March 23, 2017

On the Blog With CAS-ual Fridays Stamps: Stretching Your Stamps

Happy Thursday everyone!! It is my turn on the CAS-ual Stamps Blog. I created a card that took a look at my stamps in a different way.

As a crafter, I am sure you have oodles of supplies. However, what if you didn't? Would you be able to look at the stamps sets you have and create something that you didn't have? I sometimes challenge myself to do this to see what I could come up with. I wanted a large butterfly so I looked through my CAS-ual Fridays Stamp sets and used "Sassy Smiles" and "Pretty Posies" to create one.


I started off this card by stamping four leaves from the "Pretty Posies" stamp set with white pigment ink onto vellum and heat embossing with white embossing powder. I then colored the leaves in with gold and green sparkle markers. I cut the leaves out and gave them a second layer of color. I set them aside to dry.


While the leaves were drying, I stamped the heart from "Sassy Smiles" in black, overlapping to create the butterfly body. I then used scissors to cut the body out.


On the card base, I used embossing paste and a stencil to get a lace overlay. I then flicked green and gold mist spray over it to get a "messy" look. I placed a blended panel that had a sentiment from CAS-ual Fridays "Be" stamped in black.


I took the leaves and arranged them to look like the top and bottom of butterfly wings and adhered them to the sentiment panel. I adhered the body over the wings and used floss to make some antennae. The body needed a bit of oomph so I added some clear sparkle marker on top and then covered it with Glossy Accents.


My last step was to adhere some sequins on the butterfly wings, as well as on the card front.

Do you like the stamps I used? Use my code nora2017 to get 15% off your next order at CAS-ual Fridays Stamps.


I thank you for stopping by and hope that this helps you look with a new eye at your stamp sets.


Supplies:


Stamps-                                       "Be"                                "Pretty Posies"                       "Sassy Smiles"


Ink-Tim Holtz Distress Ink "Squeezed Lemonade," "Scattered Straw," and "Spiced Marmalade," Hero Arts Unicorn "White" Pigment Ink, Hero Arts "Black"
Embossing Powder-Ranger Detail "White"
Paper-Neenah Solar White, PaperTrey Ink Vellum
Other-Tim Holtz "Ornate" Stencil, Wagner Heat Tool, Prima Mist Spray "Emerald" and "Gold Foil," Spectrum Noir Sparkle-"Gold" and "Blue Ocean," Ranger Small Blending Tool

Saturday, June 25, 2016

CAS-ual Fridays and Imagine Crafts Blog Hop

Happy Saturday everyone!! I hope you are all enjoying your summer. I know I am but it is slipping away TOO FAST!!!

Today I am excited to share some cards that I created using CAS-ual Fridays Stamps and Imagine Crafts supplies for our BLOG HOP!  You should have come here from Mary's Blog. Please be sure to hop and comment on each Design Team members blog post to be eligible to win two amazing prizes up for grabs.

Imagine Crafts was generous enough to send us some goodies of our choice. I chose the "Melon Medley" Kaleidacolor ink pad and the Fireworks! Spray in "Tangelo" and "Lady Bug."


On my first card, I chose to use just the Kaleidacolor "Melon Medley" ink pad with my stamps. The card may be bright but it reminds me of sunshine and the colors are perfect to cheer up a sick friend.


I used CAS-ual Fridays "
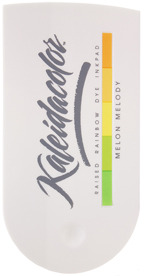
Wallflower" stamp set to stamp the flowers down on the bottom of the card with the "Melon Medley" ink. I made sure that I was able to get two different colors on each of the flowers when I stamped them.


Next I used a sponge dauber to add the "Daffodil" color from the Kaleidacolor pad. I made sure that the yellow covered all of my stamped flowers. I then dabbed a bit of the "Cantaloupe" on to a piece of acetate, misted the ink with some water and then splattered orange on to the back of my card.


I did not have the right color orange paper that I wanted to use on this card so I created my own. I cut a strip of white card stock and used the "Cantaloupe" ink from the Kaleidacolor pad to blend the perfect match. I then stamped a sentiment from CAS-ual Fridays "Pretty Posies" set with Memento "Tuxedo Black" ink.


I enjoyed making the outside of my card so much that I decided to stamp a panel for the inside of the card. I used a different flower from CAS-ual Fridays "Wallflower" set to stamps flowers in "Carrot," and the flower middles with "Chartreuse." I then blended "Cantaloupe" ink all around the edges.

For my second card, I chose to use the Kaleidacolor ink pad and the "
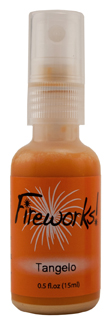
Tangelo" Fireworks! product for my card.


The first step on this card was to mist the "Tangelo" spray onto a Kraft A2 note card. I have never used this mist before and boy does it pack a punch. It was hard to photograph but it gives a nice shimmer to the kraft card base, which surprised me. I set this aside to dry while I worked on the rest of the card.


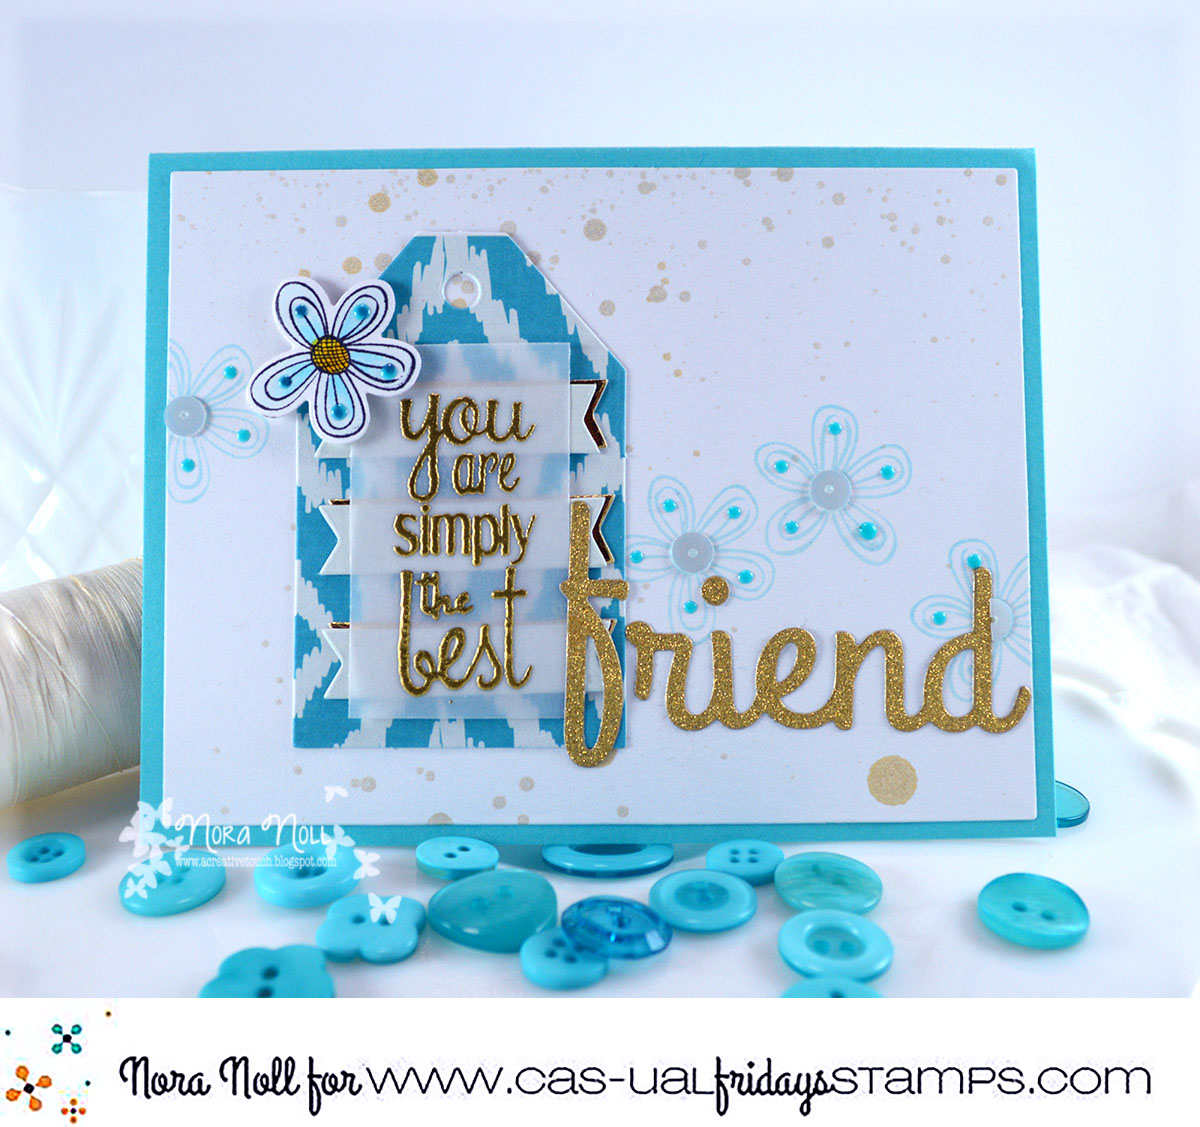
I worked on the focal point of the card while the background was drying. I stamped and embossed images from CAS-ual Fridays "Pretty Posies" set onto a small rectangle of white card stock. I then blended the inks from the "Melon Medley" Kaleidacolor over the panel. For the tiny spots in the large flower, I used Q-tips to blend the small spaces. I then mounted the panel onto a piece of black card stock to make it pop.


I created a banner from a green scrap of patterned paper and adhered it to the card front. I then added the matted flower panel using foam adhesive. I embossed a sentiment from CAS-ual Fridays "Wonderful Words" set in white on a black scrap of card stock and adhered it over the inked panel with foam adhesive. My last step was to adhere some sequins in orange and yellow on the stamped rectangle.

On my last card, I wanted the color to be toned down a bit.


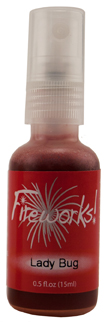
First I sprayed a bit of each of the mists onto a piece of acetate, added a bit of water and used the Fireworks! sprays like a watercolor. I painted both colors randomly onto a piece of watercolor paper. I also took the paintbrush and flicked it over the panel using some "Ladybug" Fireworks! to get some splatters.


I used a heat gun to dry the background. I then stamped the "happy" sentiment from CAS-ual Fridays "Shenanigans" stamp set in "Delicata" "Golden Glitz" pigment ink and the "Carrot" color in the Kaleidacolor ink pad. I used foam adhesive to layer the completed panel onto a white A2 card base.


Next I made a nest of gold thread where I wanted to put my sentiment block. I used glue dots to adhere it to the card front. I then stamped the "birthday" sentiment from the CAS-ual Fridays "Shenanigans" stamp set onto a red card stock strip using the "Delicata" pigment ink and heat embossed with gold embossing powder.


I used foam adhesive to give the large sentiment a bit of POP from the card. My last step was to adhere a few gold sequins onto the card front.

I had such fun using all of the Imagine Crafts products with the CAS-ual Fridays stamp sets. I love that the Kaleidacolor pad has so many options on ways to use it. I also loved the Fireworks" sprays. I will definitely getting a few more colors to play with in the future!!

If you like any of the CAS-ual Fridays Stamp sets, please head on over to the CAS-ual Fridays Stamps Store and use my code nora2016 to get 15% off your purchase!!


New up is Katherina's Blog. If you get lost along the way, hop on over to CAS-ual Fridays Stamps Blog or the Imagine Crafts Blog for a complete set of links for the hop.

I thank you for stopping by and making it through this long post. I hope you have a FABULOUS Saturday!!


Supplies:
Imagine Crafts-"Melon Medley" Kaleidacolor ink pad, "Tangelo" and "Ladybug" Fireworks Spray, Memento "Tuxedo Black," Delicata "Golden Glitz" pigment ink, Versamark ink
CAS-ual Fridays Stamps-"Wallflower," "Pretty Posies," "Wonderful Words," and "Shenanigans" stamp sets
Other-Kraft, White, Black, orange and Red card stock-Bazzill, Thread-DMC, Ranger Multi Matte Adhesive, 3M Foam adhesive, Sequins, Sponge Daubers, Q-tips, Ranger gold and white embossing powder, heat gun


Friday, May 27, 2016

CAS-ual Friday's Friend Card

Happy Friday everyone!! It is my turn on the CAS-ual Fridays Stamps Blog.

I created a card using mixture of old and new products for my card.


I started this card off by stamping the small flower from the "Pretty Posies" set in Hero Arts "Soft Pool" ink onto a white card base. I then misted Prima "Tea Stain" and "Gold Foil" onto the front of the card.


While the mist was drying, I die cut the word friend using CAS-ual Fridays"Friend" die out of gold glitter paper.


I set the word aside and stamped a sentiment onto vellum using the "Wallflower" set with "Golden Glitz" Delicata pigment ink and then heat embossed it using Ranger's Gold embossing powder.


I then dug through my stash of ready made embellishments and pulled out a tag from We R Memory Keepers and a flower from "Pretty Posies" that was a leftover from a different project.


With all my elements gathered, I was ready to assemble my card.


I took the white card base and adhered it to an A2 card base. I then adhered the tag over the embellished panel.


Next I adhered the vellum panel over the tag. I made sure to use the adhesive under the embossed letters as not to have any of it show through.


I then adhered the "friend" sentiment and used foam adhesive to give the colored flower some dimension. I thought the pool flowers needed a bit more so I glued sequins in the middle of them and then used some Nuvo Crystal Drops in "Caribbean Ocean" over some pieces of the flower.

This card was totally out of what I usually do and I had so much fun creating it. I rarely emboss vellum and using pre-made embellishments on cards is not easy for me. However, I really like how this came out.

I thank you for stopping by today. Have a fabulous weekend!!


Supplies:
Tag-We R Memory Keepers