Sunday, January 20, 2013

Paper Trey Ink's Make It Monday 100th Video!!

Have you ever checked out Paper Trey Ink's Make It Monday Videos? Every Monday they feature a new technique that you can use on cards or other types of paper crafts. This week, one my FAVORITE  card designers, Dawn McVey, created a video on how she packages cards that have embellishments that go off the card. (Video 100) It was really interesting. She often sends these type of cards out in larger envelopes, just like I have always done!! With the video, there is also a weekly challenge. I decided to play and here is my card and the envelope I came up with:


Supplies: Everything is Paper Trey Ink with the exception of the black cardstock (Bazzill), the alphabet Stickers (Doodlebug Design Candy Shoppe) and the patterned paper (Crate Paper "Cupid"), Copic Markers

Here is the just the card:


This is the front and the back of the envelope. I like the back better then the front. I am always afraid to embellish the front too much if I am going to send the card through the mail.


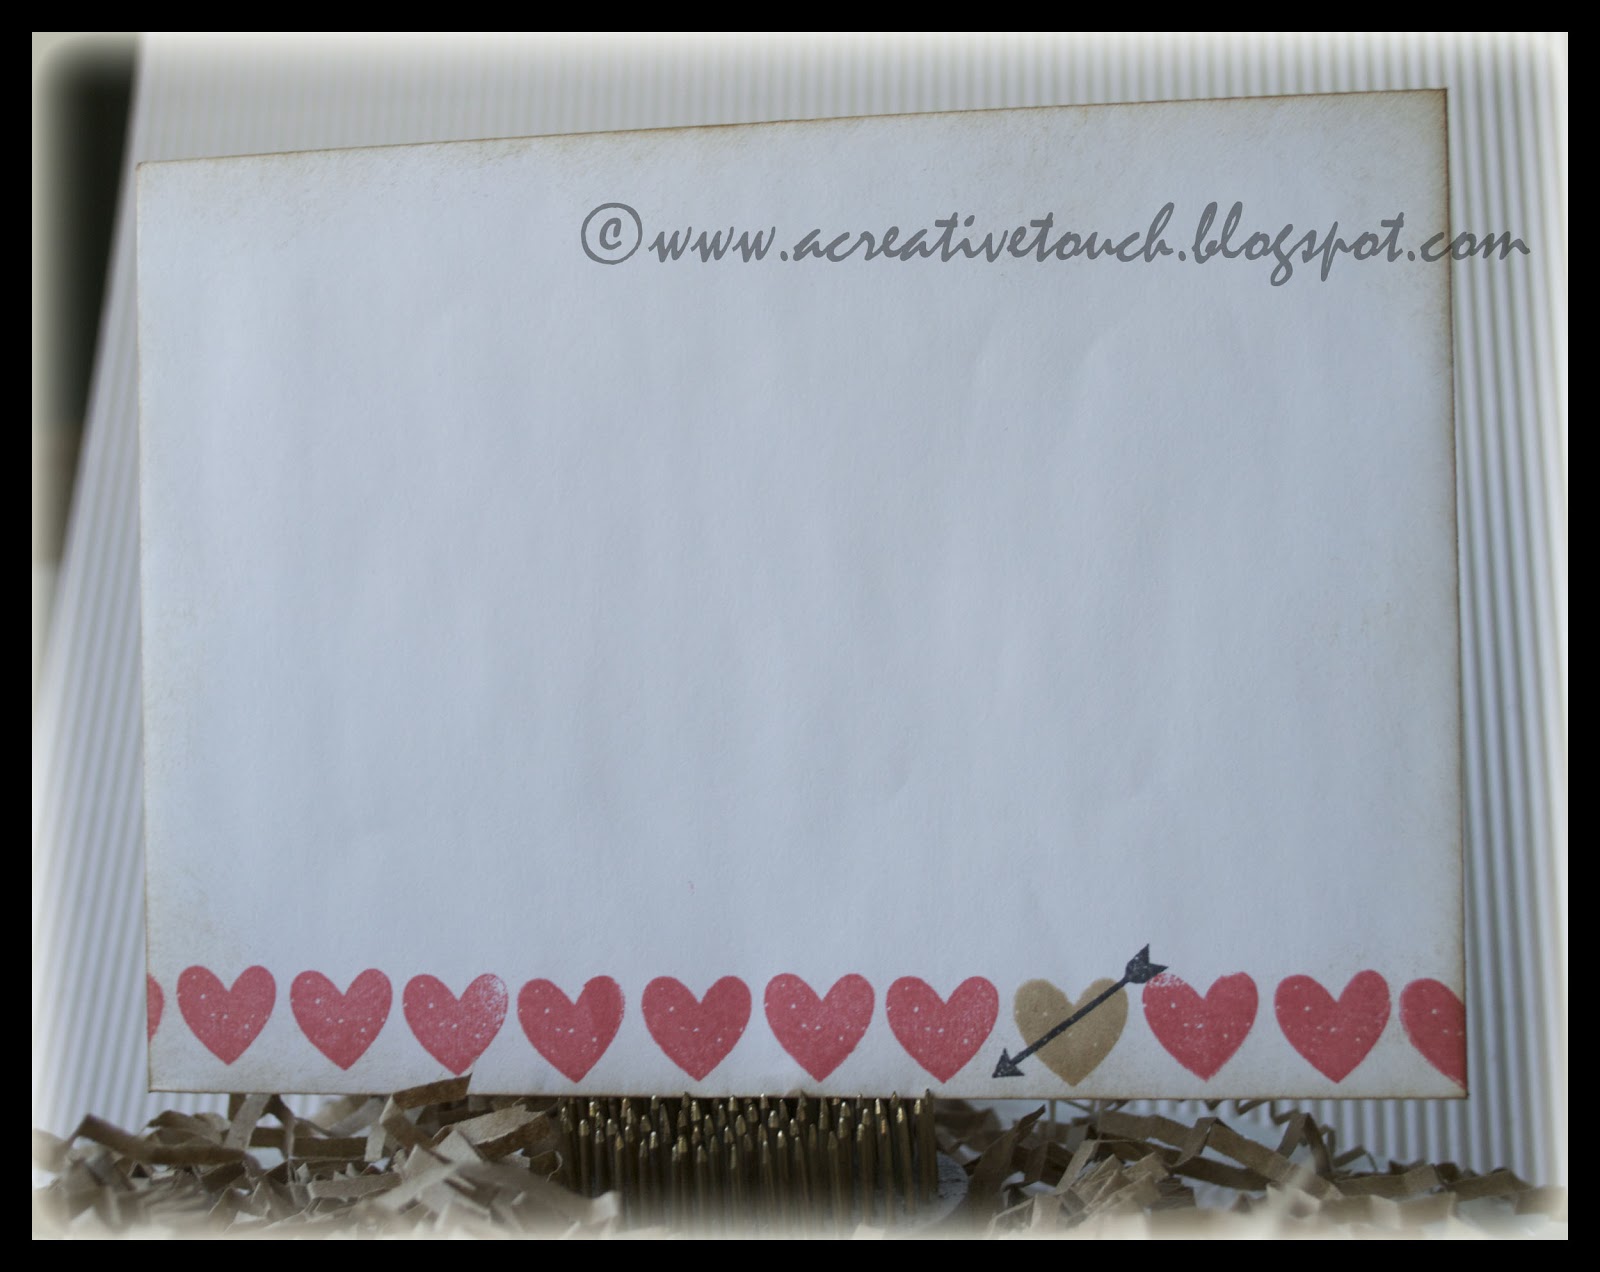
I hand stamped paper strip with "Tag It's #11" from Paper Trey ink in black, Berry Sorbet and Kraft ink. I will be doing this technique more often! I will let you in on a little secret, though. The stamping isn't straight! Normally I would throw it away but because I wanted to get this done for tomorrow, I just went with it. SHHH SHHH!! Don't tell anyone!!


I used the Copic Markers below to color in the circle element on the tag. Cannot say these are my favorite colors but it came out OK.


I am posting the photo of the envelope box too so that you know what size envelopes to buy if you need them. I only had white on hand but usually have both white and cream. 


One suggestion that Dawn gave in the video is if you are sending a dimensional card like mine, if you place a piece cardstock over the front, it will protect the embellishment. I usually put the front of my cards facing toward the back and tape the back with packing tape so the card back will go through the machine. However, I am going to use the cardstock trick next time.

Nora

Friday, January 4, 2013

Happy Friday!!


Phew!! This week went by fast. I like these 3 day weeks!! I hope everyone had a good week. 

This is just a quick post with a few scrap book pages. I am having the girls over for dinner and so I only have a few moments to post. Again, I am posting Christmasy kind of pages. Sorry. I am always a day late and a dollar short!! In fact, these photos are from our 2011 Christmas. I am in no way caught up in scrapbooking and just create with the photos that inspire me. 

The first page is of Charlotte with my niece and nephew at their house on Christmas day. I had fun misting and using tape on this page. Not so Christmasy in colors either.


Supplies: Paper-White cardstock, Basic Grey Aspen Frost "Open Sleigh," and Aspen Frost 6" by 6" paper pad, Simple Stories "Color Vibe" 6" by 6" paper pad, Simple Stories "Snappy Thoughts" cards, Pink Paislee Parcel Tags, Tape-Queen and Company Vertical Pink Stripes and Polka Dot Red; Stickers-My Minds Eye "All is Bright" Stickers, My Little Shoe Box Alphabet; Spray mist

Below is a layout that was based on a quilt I saw on Pinterest. This is Charlotte and my father. I am so happy to have these photos. I try to get as many as I can when we are with him. I had fun cutting up strips of paper for the border.


Supplies: Paper-White Cardstock, Basic Grey Aspen Frost, Echo Park, Jillibean Soup, Lilly Bee Design, Aspen Frost Flair; Ink-black and Vintage Photo Ink, Pink Paislee Ephemera Pack, Silhouette Machine, Stickers-Basic Grey Green Alphabet and Prima

The last page is just a quick one with Charlotte and her cousin. I love her silly face so I just had scrap it!! Like the first, I had fun misting, stamping and layering with paper.


Wishing you all a fabulous weekend!!!

Nora