Showing posts with label Stickers. Show all posts

Monday, September 4, 2023

A New Cupcake Inspiration Challenge-Challenge #577

 Hello Friends!! 

There is a NEW challenge over at Cupcake Inspirations Challenge this week. Challenge #577 is a THEME challenge and it is all about BEARS!!!!

Below is the challenge badge for Cupcake Inspirations Challenge #577.

I created my card with the image our sponsor, PJ Moore Illustrations donated to us. Isn't this so cute?

I started off this card by resizing and printing the digital stamp. I then colored it in with my Copic markers.


I cut down the white card panel and layered it over some scraps of pattern paper that were in my scrap drawer.


I added a sentiment with stickers. I have so many of these tiny stickers from my scrapbook days and I decided I needed to get them out to use. To finish my card off, I added a tiny die cut heart and covered it with clear shimmer pen and Glossy Accents.

To see all the details for Challenge #577 and more fun projects by the Design Team, hop on over to the Cupcake Inspirations Challenge Blog. I hope you decide to join us for this round!!!

That is all from me today. Thank you for taking the time to stop by. Have a FABULOUS day!

Nora


Saturday, May 4, 2019

Some Good News and a couple of Cards

Happy Saturday!! Just popping in with some news and a couple of cards.

First, my dog has rallied and seems to be better. It was a ROUGH week all around but he is back to his whining for what he wants and begging for food like a champ. I was so afraid he would pass away before my daughter came home from college. However, she is home now and he is happy as any pup (or old geezer, which he is!!) can be to have all his people in one place.

Today I am posting a few cards in between Charlotte coming in to show me all the clothes she is trying on to see if she could keep them or get rid of them. She is the only person I know that loses weight at college!!

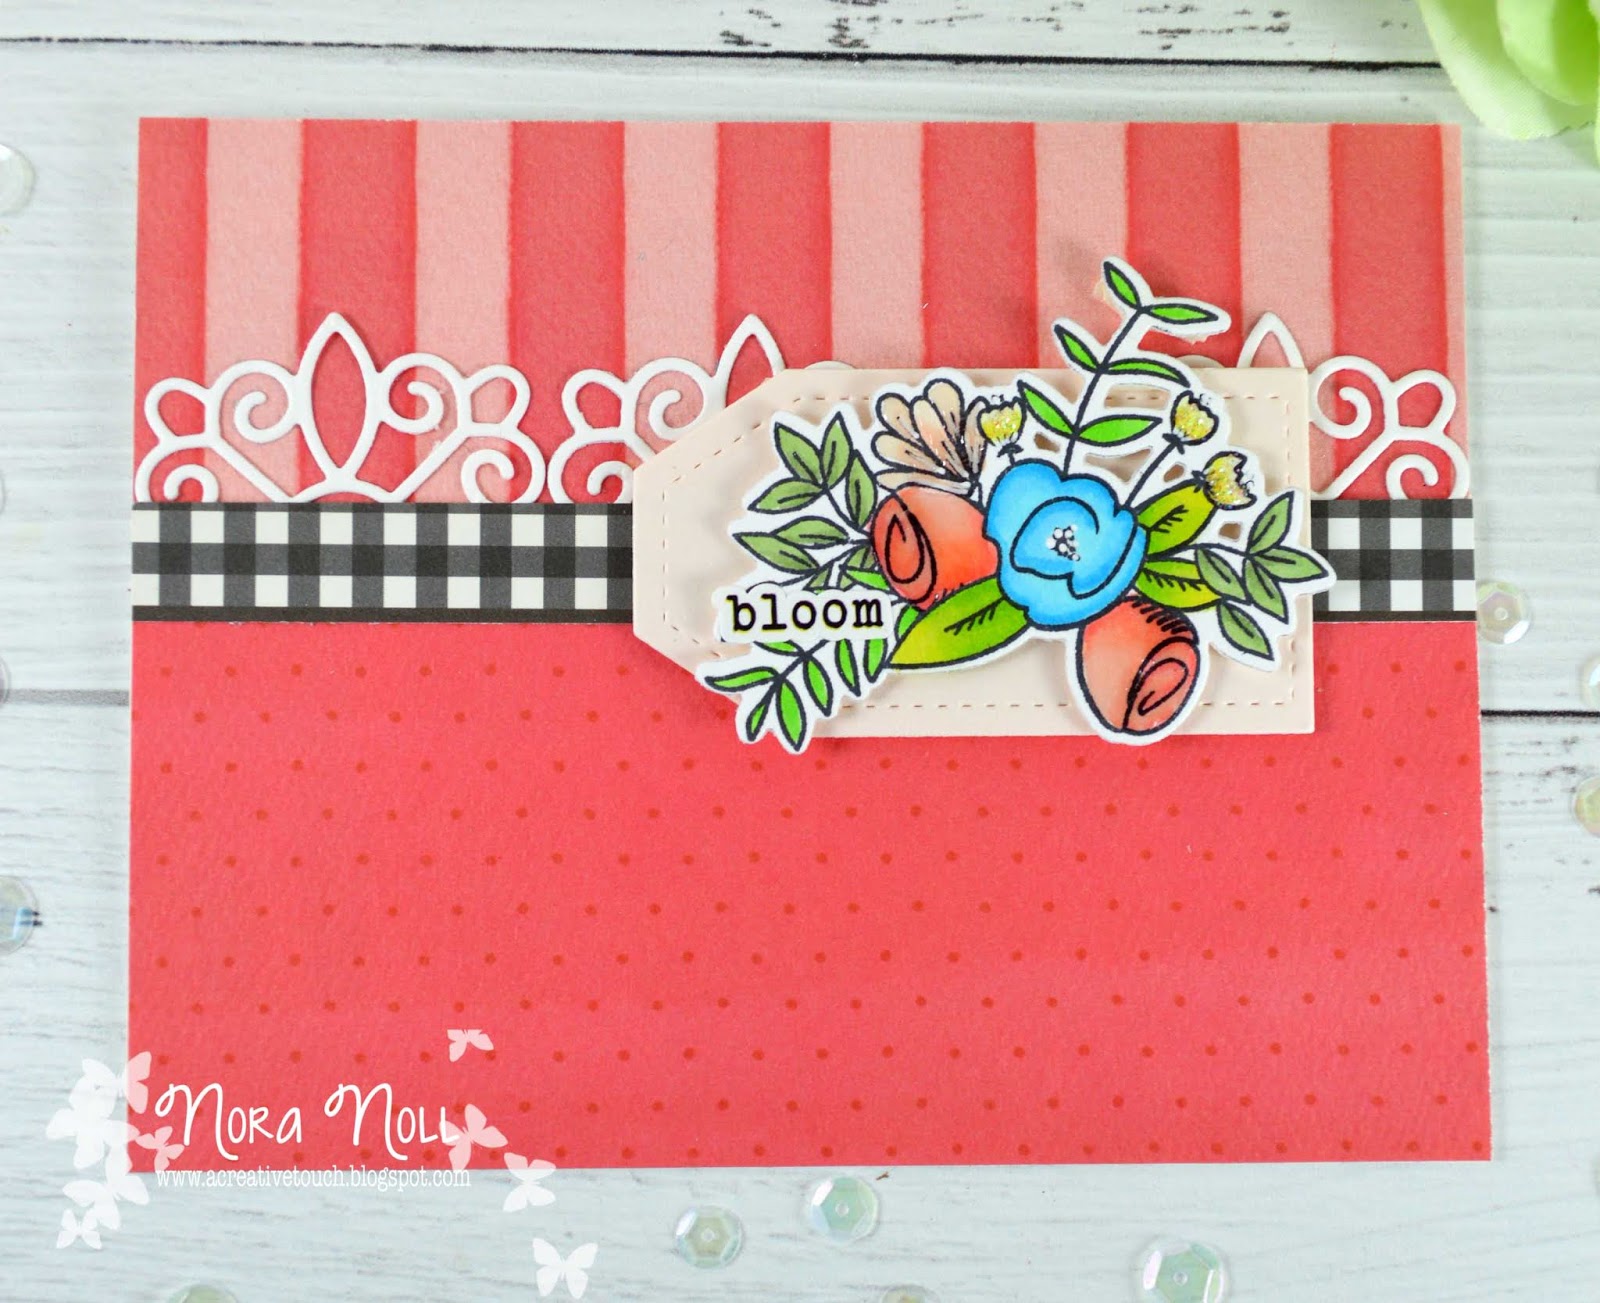
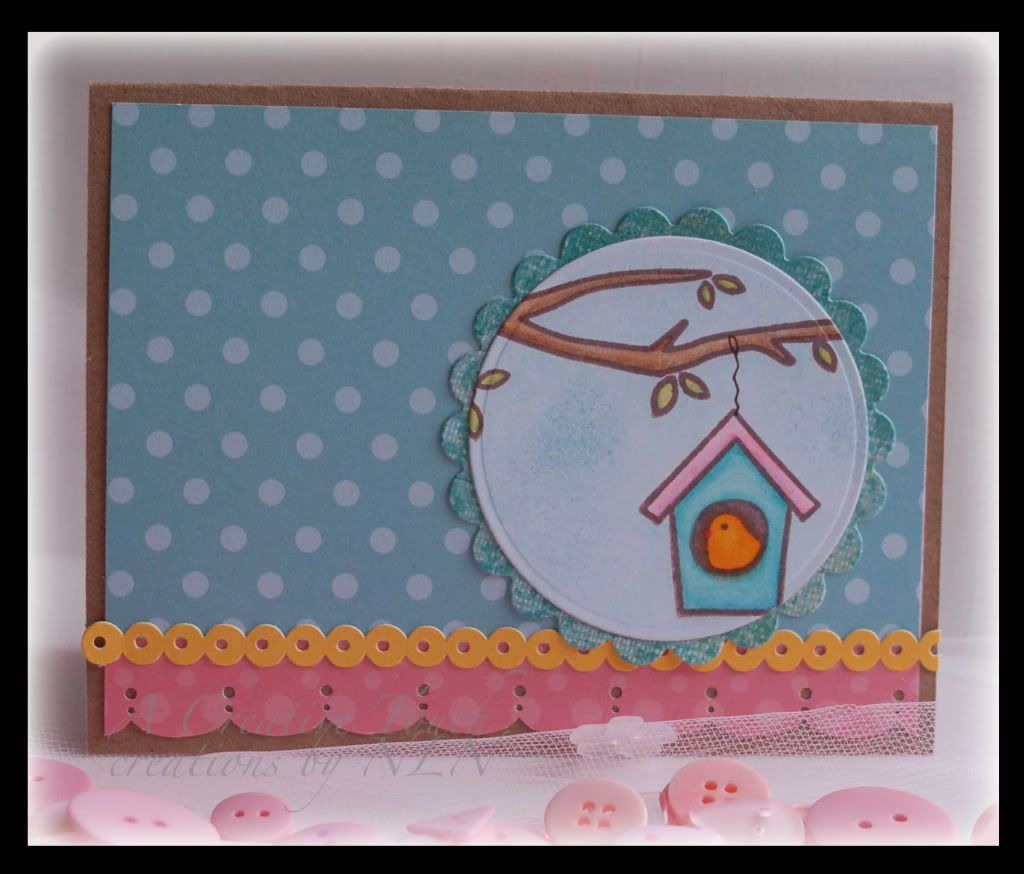
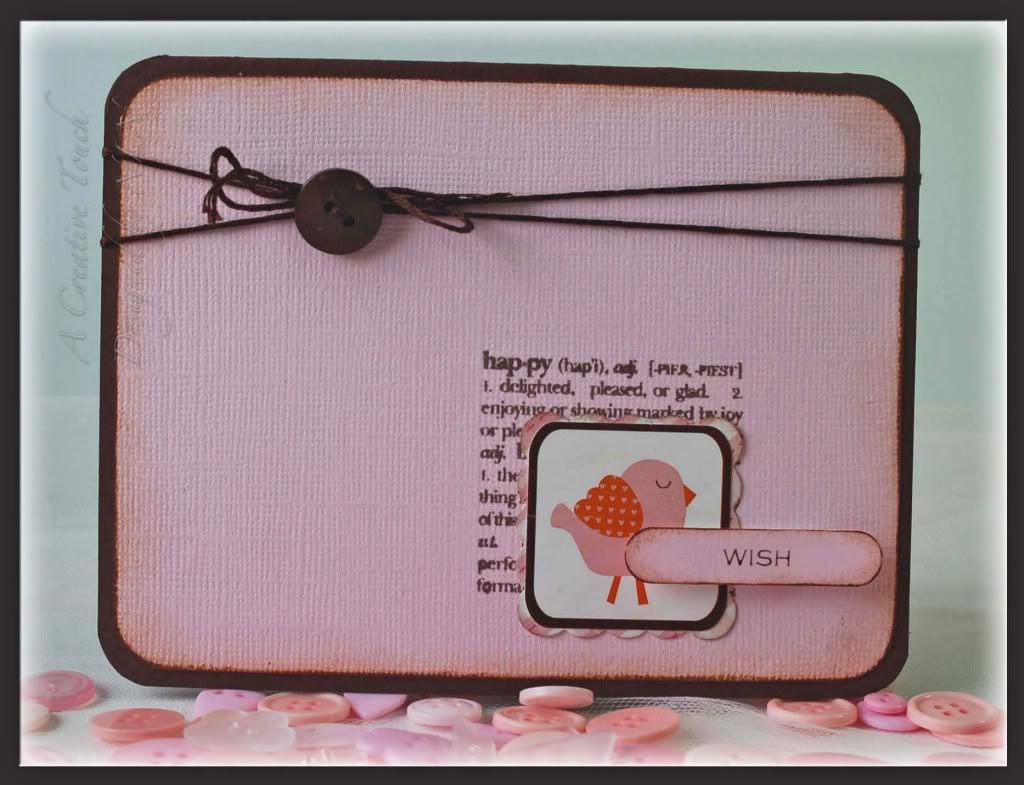
On my first card, I used the Fusion Challenge as my inspiration.


The colors from the butterflies on the door and I flipped the sketch so it was landscape.

Instead of the card base being one color, I shoe to layer a piece of striped paper on top of the tiny dots. The border is a combination of die cuts that I had on my desk and a border from some paper that was sent to me in a mini kit.


The stamped image is from WPlus9's "Hello and Thanks" stamp set and colored in with Copic Markers. I added some Glossy Accents and Diamond Stickles on top of some of the flowers when I was done.


Instead of the circle, I chose to mount the flower on top of a pink tag. The sentiment is a sticker from Carta Bella.

I have to say I LOVE how this card came out. I am really trying to use some of the patterned paper I keep hoarding so this was a win for me!!

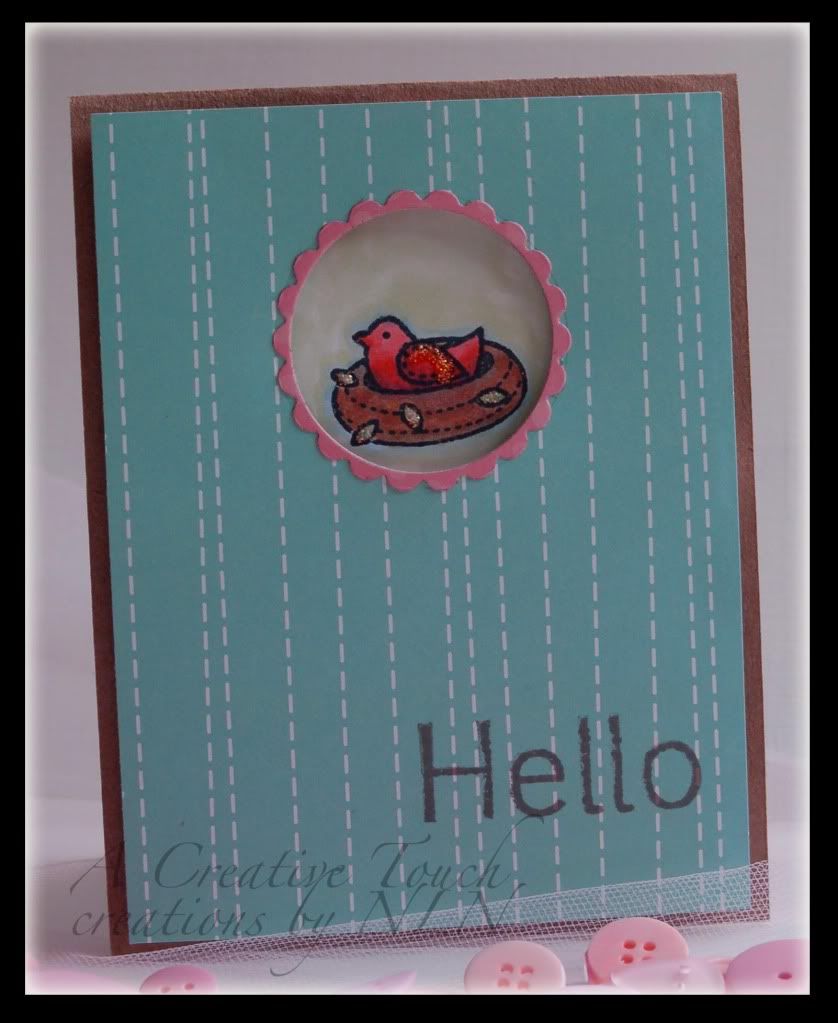
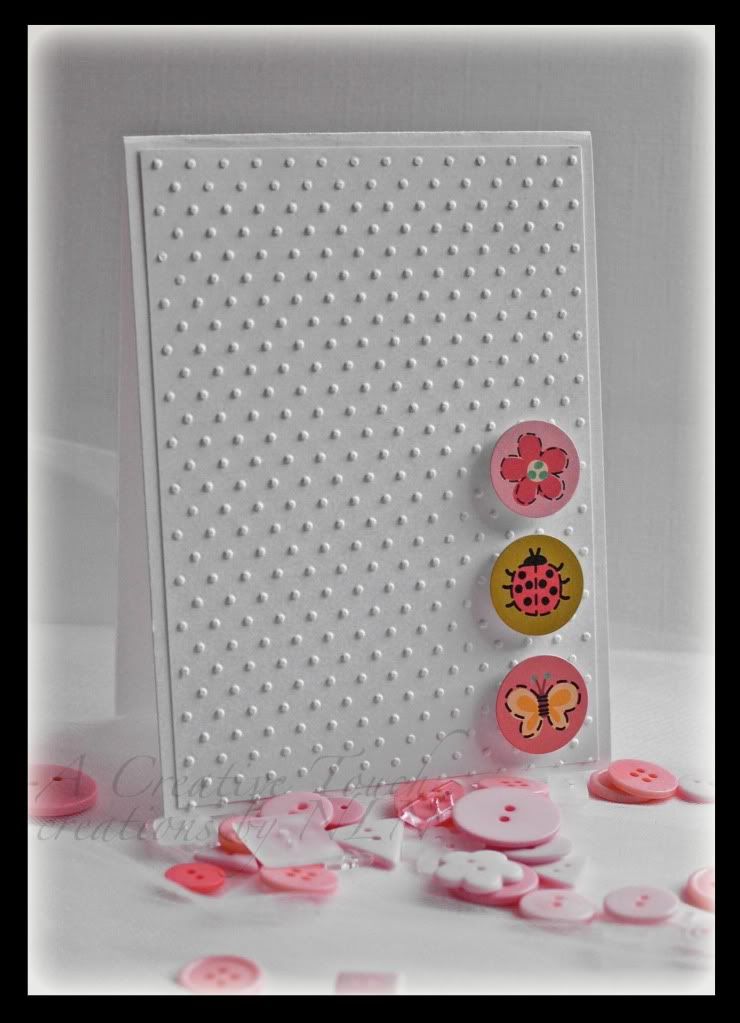
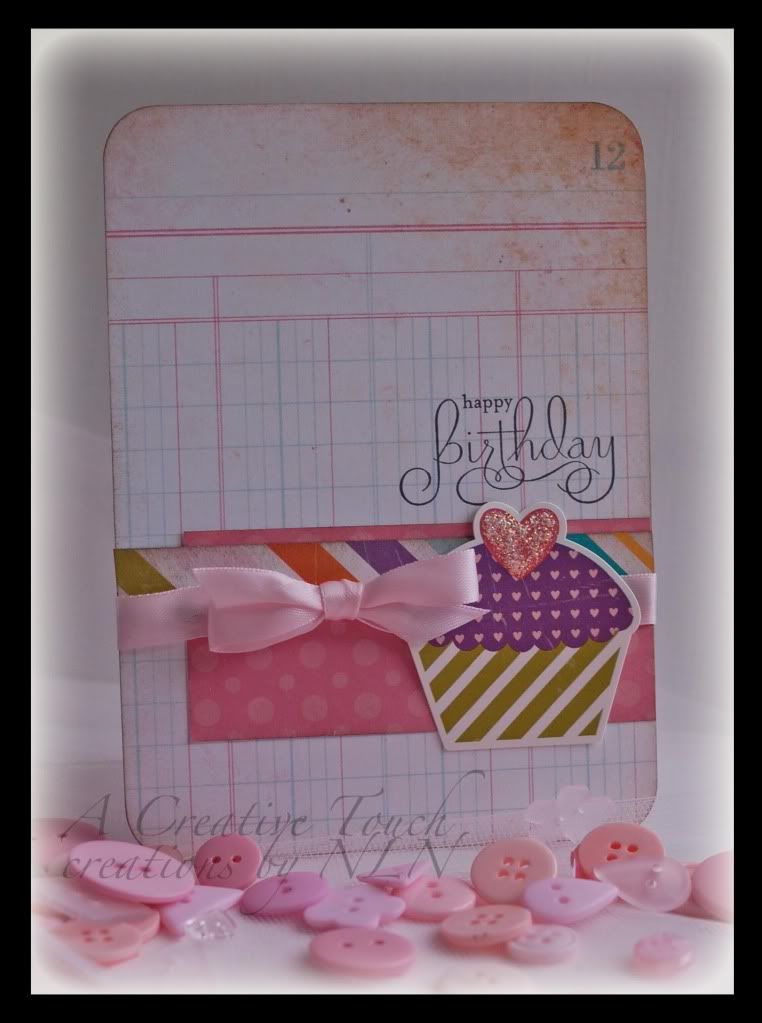
For my second card, I used a challenge from a private board as my inspiration. It was to use a color inspiration challenge that had all these blues. I am HORRIBLE at color challenges but I thought this came out okay and was simple to put together.


The background was from my scrap drawer and the two die cuts were from Carta Bella's "Flower Market" frames and tags ephemera set.


I added some Diamond Stickles and two word stickers over the top.


I LOVE when cards come together so easily.

That is all from me today. I am off to do some playing on this National Scrapbook Day. I intend to try some techniques with some NBUS supplies I have in my stash!!

I appreciate you taking the time to stop by. Have a FABULOUS day!!


Supplies:
Paper-Neenah Solar White, Carta Bella "Planted Flowers" and "Market Shop," Tonic "Arctic Blue"
Stamps-WPlus9 "Hello and Thanks"
Other-Diamond Stickles, Carta Bella "Flower Market" Frames and Tags, Glossy Accents, Carta Bella "Flower Market Element Stickers," My Favorite Things "Blueprint 13 Die-namics," Big Shot, Foam Adhesive, Kokuyo Adhesive

Thursday, May 30, 2013

Cheese!

Happy Thursday!! I decided to post a quick page I created that focuses on some prints from a photo booth. We went to our first Bar Mitzvah last year and this was one of the souvenirs that we came home with. It was so fun!!


I started this page by stenciling the brown circle design on the kraft background. I then used a toilet paper roll and ink to create the larger circles. The red paper was created by using different colored ink and some stamps. I tore the left edge, adhered it to the page and then used three kinds of tape and a white paper frill border. The camera, title and round sentiment sticker were adhered last.

I hesitated to even post this because I am actually in the photo. I am not a big fan of photos of myself!! However, I loved how this page came out and I think the design enhances the photos.

Thank you for stopping by!!

Nora

Friday, January 4, 2013

Happy Friday!!


Phew!! This week went by fast. I like these 3 day weeks!! I hope everyone had a good week. 

This is just a quick post with a few scrap book pages. I am having the girls over for dinner and so I only have a few moments to post. Again, I am posting Christmasy kind of pages. Sorry. I am always a day late and a dollar short!! In fact, these photos are from our 2011 Christmas. I am in no way caught up in scrapbooking and just create with the photos that inspire me. 

The first page is of Charlotte with my niece and nephew at their house on Christmas day. I had fun misting and using tape on this page. Not so Christmasy in colors either.


Supplies: Paper-White cardstock, Basic Grey Aspen Frost "Open Sleigh," and Aspen Frost 6" by 6" paper pad, Simple Stories "Color Vibe" 6" by 6" paper pad, Simple Stories "Snappy Thoughts" cards, Pink Paislee Parcel Tags, Tape-Queen and Company Vertical Pink Stripes and Polka Dot Red; Stickers-My Minds Eye "All is Bright" Stickers, My Little Shoe Box Alphabet; Spray mist

Below is a layout that was based on a quilt I saw on Pinterest. This is Charlotte and my father. I am so happy to have these photos. I try to get as many as I can when we are with him. I had fun cutting up strips of paper for the border.


Supplies: Paper-White Cardstock, Basic Grey Aspen Frost, Echo Park, Jillibean Soup, Lilly Bee Design, Aspen Frost Flair; Ink-black and Vintage Photo Ink, Pink Paislee Ephemera Pack, Silhouette Machine, Stickers-Basic Grey Green Alphabet and Prima

The last page is just a quick one with Charlotte and her cousin. I love her silly face so I just had scrap it!! Like the first, I had fun misting, stamping and layering with paper.


Wishing you all a fabulous weekend!!!

Nora

Monday, July 25, 2011

A Little Springtime in Summer!!

We have been busy this weekend trying to stay cool. Once again I am uploading layouts to this blog that I have created over the last few months. This post will be all about "spring." Each page contains something to do with spring.

My first page is about how coloring Easter eggs is always an after thought in our house. I can buy a die kit months in advance like I did this year and we still wind up coloring eggs in the late afternoon of Holy Saturday. (Please excuse the scan. For some reason I have a difficult time getting both sides of a Kraft Cardstock background to meet up!!) I created this page for a challenge over at Scrapjazz.com this month. If you want, come on over and join us. If you create a layout and upload it, you will be entered into a random drawing for a prize pack from Scrapbook.com.


Supplies: Paper-Bazzill Kraft Cardstock, Basic Grey Sweet Threads-Boutique Shopping, Drapery Top, Knotted Shirt and Weekend Look, Die Cuts-Jillibean Soup-Dutch Mustard Soup Pea Pod Shapes and Watermelon Gazpacho Pea Pod Shapes, Paper Trey Ink border and banner die,  Stickers-My Little Shoebox Mini Alphabet-Sunrise and Jillibean Soup Watermelon Gazpacho Cardstock stickers Punches-EK Success Whale of a Punch Circle, Ink-Vintage Photo Ink , Pens-Zig Writer.


The next page is a simple page of Charlotte and her cousins on Easter. I love the striped border on this and the butterfly.


Supplies: Paper-Echo Park Splash Collection-Fish and Journaling, Jillibean Soup Watermelon Gazpacho 6" by 6" paper pad, Borders-Jillibean Soup Watermelon Gazpacho Soup Pea Pod Shapes and Bazzill Just the Edge French Vanilla Border, Stickers-Jillibean Soup-Glazed Green Cardstock Alphabet, My Little Shoebox Carnation Glitter Alphabet, American Crafts Thickers, and Heidi Swapp Bling, Pens-Zig Writer.


The last Spring page I designed I emphasized the white space. The photo was taken of Charlotte in Boston in a plaza by the Old North Church.


Supplies: Paper-Bazzill Kraft Cardstock, Jillibean Soup Watermelon Gazpacho Soup 6" by 6" Paper Pad, Die Cuts-Jillibean Soup Watermelon Gazpacho Soup Pea Pod Parts and Journaling Spots, Punches-Marvy Uchida Extra Large Scallop Punch, and Stickers-My Little Shoebox Glitter Alphabet-Ruby and Jillibean Soup Watermelon Gazpacho Soup Cardstock Stickers.

Thank you for perusing my blog. I hope you have a great week!!
Nora

Tuesday, April 5, 2011

Practicing with Copic Markers

     I have to admit that I have quite a few Copic Markers. I don't use them that much, though, because I have not perfected my technique. I took a class a few months ago to make me feel more comfortable creating with these alcohol based markers but didn't pick them up again until a couple weeks ago in an attempt to practice. I cannot say that I love how both these cards came out but I did learn a few things.

     For the first card, I was happy with the way I colored in the nest and the bird but I definitely need practice with the background. You cannot tell by the picture but I die cut a circle in the patterned paper and pop dotted it over the bird image so that it "peeks" out at the viewer. I finished it off by die cutting a scalloped circle and placing it around the hole.


Supplies: Paper-Paper Trey Ink White Paper, Bazzill Kraft, My Little Shoebox Made with Love and Hand Made Die Cuts-Nestabilities Small Standard Circle and Scalloped Circles Die Cut Machine-Big Shot Stamps-My Little Shoebox Home Tweet Home Ink-Tsukineko Memento Rich Cocoa Stickles-Diamond Adhesive Foam-EK Success Markers-Copic G94, B91, B93, E25, E31, E34, E37, G40, G82, R22, R24, R27, YR07

     The second card I created came out better then the first. Instead of coloring in the background with the Copics, I chose to wipe the marker a few times on a sponge to pick up some color and then used blending solution on top of the marker. I then sponged the combination over the entire image. This technique looks better but I had to wipe the marker on the sponge a lot to get a deep color. I think if I had the refill of the blue I used to squirt on the sponge it would have been a little easier.


Supplies: Paper-Kraft Cardstock, My Little Shoebox Made with Love and Fields A Bloom, Die Cuts-Nestabilities Small Standard Circles and Scalloped Circle Die Cut Machine-Big Shot Stamps-My Little Shoebox Home Tweet Home Ink-Tsukineko Memento-Rich Cocoa Punches-Martha Stewart Markers-Copic BG10, BG11, BG13, BG18, E31, E34, E37, E44, RV10, RV13, RV14, Y11, Y15, Y17, YG17, YG21, YG23, YR68 Paper Frills-Bumblebee


     The last card I am posting today is another simple card. I needed simple after all the coloring I did on the last two cards!! I just embossed a piece of white cardstock for the background and attached three round stickers with pop dots to complete the card. Anyone can do something like this!!


Supplies: Paper-Bazzill White Smooth Cardstock Stickers-My Little Shoebox Garden Party Sticker Collection Embossing Folder-Cuttlebug Love Language Die Cut Machine-Big Shot Pop Dots


     Creating anything worth while takes a lot of hard work and practice. I know that I will keep plugging away at my Copic marker technique until I get it perfect. Have a great day everyone!!


Nora

Monday, April 4, 2011

Some new layouts!!

     I am taking a break from posting cards today to show you some of the layouts I have been creating. Lately I have been trying to stretch my creativity by buying supplies I wouldn't normally buy and using techniques that I haven't tried before. I have to admit that sometimes it can be a trial and error method of creating. I also do not love all the pages I have made by using some of the products I have chosen. However, it has put the fun back into scrapbooking again-something it has been sorely lacking.

     The first page I created by using mist sprays and layering paper. I started with the lightest color and sprayed in stages, letting it dry in between each mist. I really like how it came out and I think it enhanced this photo of Charlotte and her cousins.


Supplies: Paper-Bazzill-Red Devil, Aqua Fourz and Wedding Butterfly, Echo Park-Gingham Gabby, Sally StitchesCindy Circles Mist Sprays-Tattered Angels Marmalade, Jazz Blue and Lavender Fields Punches-Martha Stewart Himalayan Snowflake and Glacial Snowflake, Fiskars Apron Lace and EK Success Donut Chain Ink-Inkadinkadoo Red and Pink Chalk Ink Stickles-Lavender Stamps-Basic Grey Basic Notes, Letter Stickers-American Crafts


     My next layout I experimented with using a kit. I tend to buy papers and embellishments by the same company but I rarely buy kits because I don't tend to love all the papers that come with it. Echo Park's Little Girl Collection was an exception. I loved all the papers that came with it and so I decided to try using only products that came in the kit, with the exception of cardstock and some punches. I have to admit that this isn't my favorite page because of the bright colors but the colors went with the photos.


Supplies: Paper-Echo Park Cupcake CaseyGingham GabbyCindy CirclesJournaling Cards, Bazzill Precious (Pink) and Wedding White Punches-Fiskars Scallop Sentiment and EK Success Small Corner RounderScallop Circle Punch Stickers-Echo Park Little Girl Element Stickers and Little Girl Alphabet Markers-Zig Writers

     The last page in this post was also created with the Echo Park Little Girl Collection. The only thing I   added to the kit was cardstock, the use of a circle punch and ink, and journal strips. I cannot believe how young Charlotte looks in these photos!!


Supplies: Paper-Bazzill Iced Pink and White, Echo Park Betty Bird and Madison Plaid Stickers-Echo Park Element Stickers  Punches-Paper Shapers Photo Labels and Marvy Uchida 2" Circle Ink-Vintage Photo Ink by Ranger Ink

     I hope you enjoy my creations and they inspire you to challenge yourself to use techniques you never thought you would try.

Nora

Sunday, April 3, 2011

A Long Hiatus!!

     I cannot believe I haven't posted here in so long. Life got a little busy and my ability to create was sacrificed. I am back on track and will be posting some new creations over the next few days. Some you might have seen over at Scrapjazz.com but I thought I would post it here too.

     The first couple cards I created with some stickers from Echo Park's Little Girl Line. I chose to do a "Birthday Theme" so that I would have a few cards on hand for some upcoming celebrations.

     I was in a "purple" mood when I created this card. The rich color makes the cupcakes POP!


Supplies: Paper-Echo Park Cindy Circles and Double Sided Journaling CardsBazzill White Dot, and Bazzill Purple Cardstock Stickers-from the Echo Park Little Girl Collection, Punches-Corner Rounder Stickles-Lime Green, Yellow, Orange Peel and Turquoise Ink-Vintage Photo by Ranger Ink Ribbon


     The next card was one of the easiest cards I have ever created. A sticker, two stamps, cardstock and simple embellishments was all it took.


Supplies: Paper-Bazzill Brown and Pink Cardstock,  Echo Park Gingham Gabby Stamps-Hero Arts Dictionary Greeting and Wish Stamp, Punches-Stampin Up! Slot Punch,  Marvy Uchida Scalloped Square and EK Success Large Corner RoundeInk-Vintage Photo Ink by Ranger Ink and Tsukineko Memento Rich Cocoa Ink Floss-We R Memory Keepers, Brown Button

     This last card is my favorite of the three, though. Again, all I used was patterned paper, a stamp and a sticker.


Supplies: Paper-Echo Park Suzy Stripe, The Girls Paperie-Shabby Flower, My Little Shoebox-Made With Love Sticker-Echo Park Little Girl Element Stickers Ink-Vintage Photo by Ranger Ink and Tsukineko Memento-Tuxedo Black Punches-EK Success Large Corner Rounder, Stamps-Stampin Up! Stickles-Diamond Pink Ribbon

     I have to admit, I have never been a big fan of stickers. However, I will be taking a second look to use on my cards. Adding a little glitter glue kicks the stickers up a notch!!

     Have a great night!!

Nora