Showing posts with label Make it Monday. Show all posts

Saturday, December 28, 2013

Paper Trey Ink Make It Monday A La Carte Challenge Entry #1

Hello everyone!! I hope you all had as nice of a holiday as I have had. It was fun being with family and then having a few days of relaxing with just the three of us. I have been busy cleaning up my craft room and in between creating a few cards for some challenges. My room still isn't as clean as I want it to be but I get distracted by all the pretty things I find and it causes me to want to play. Work/play-I picked play!!

Today I am going to post THREE different times because I created cards for three different challenges. Yes, I go from not posting anything to flooding it through. That is me in a nut shell as of late, though. It is either feast or famine!!

The first card I am going to post is for this weeks Paper Trey Ink's Make it Monday challenge A La Carte. You were to pick any MIM technique that they have shown over the year and create a project using that technique.

For this card I used MIM #99-Repeats and Rainbows technique. Basically it was to pick a fun color scheme and use it on a project. I used the color scheme below for my card:


I knew when I saw this challenge that I would use my new Happy Hearts stamp set and Cover plate that I received right before Christmas. I was kind of bad about ordering things for myself this year. Shhh, don't tell!!


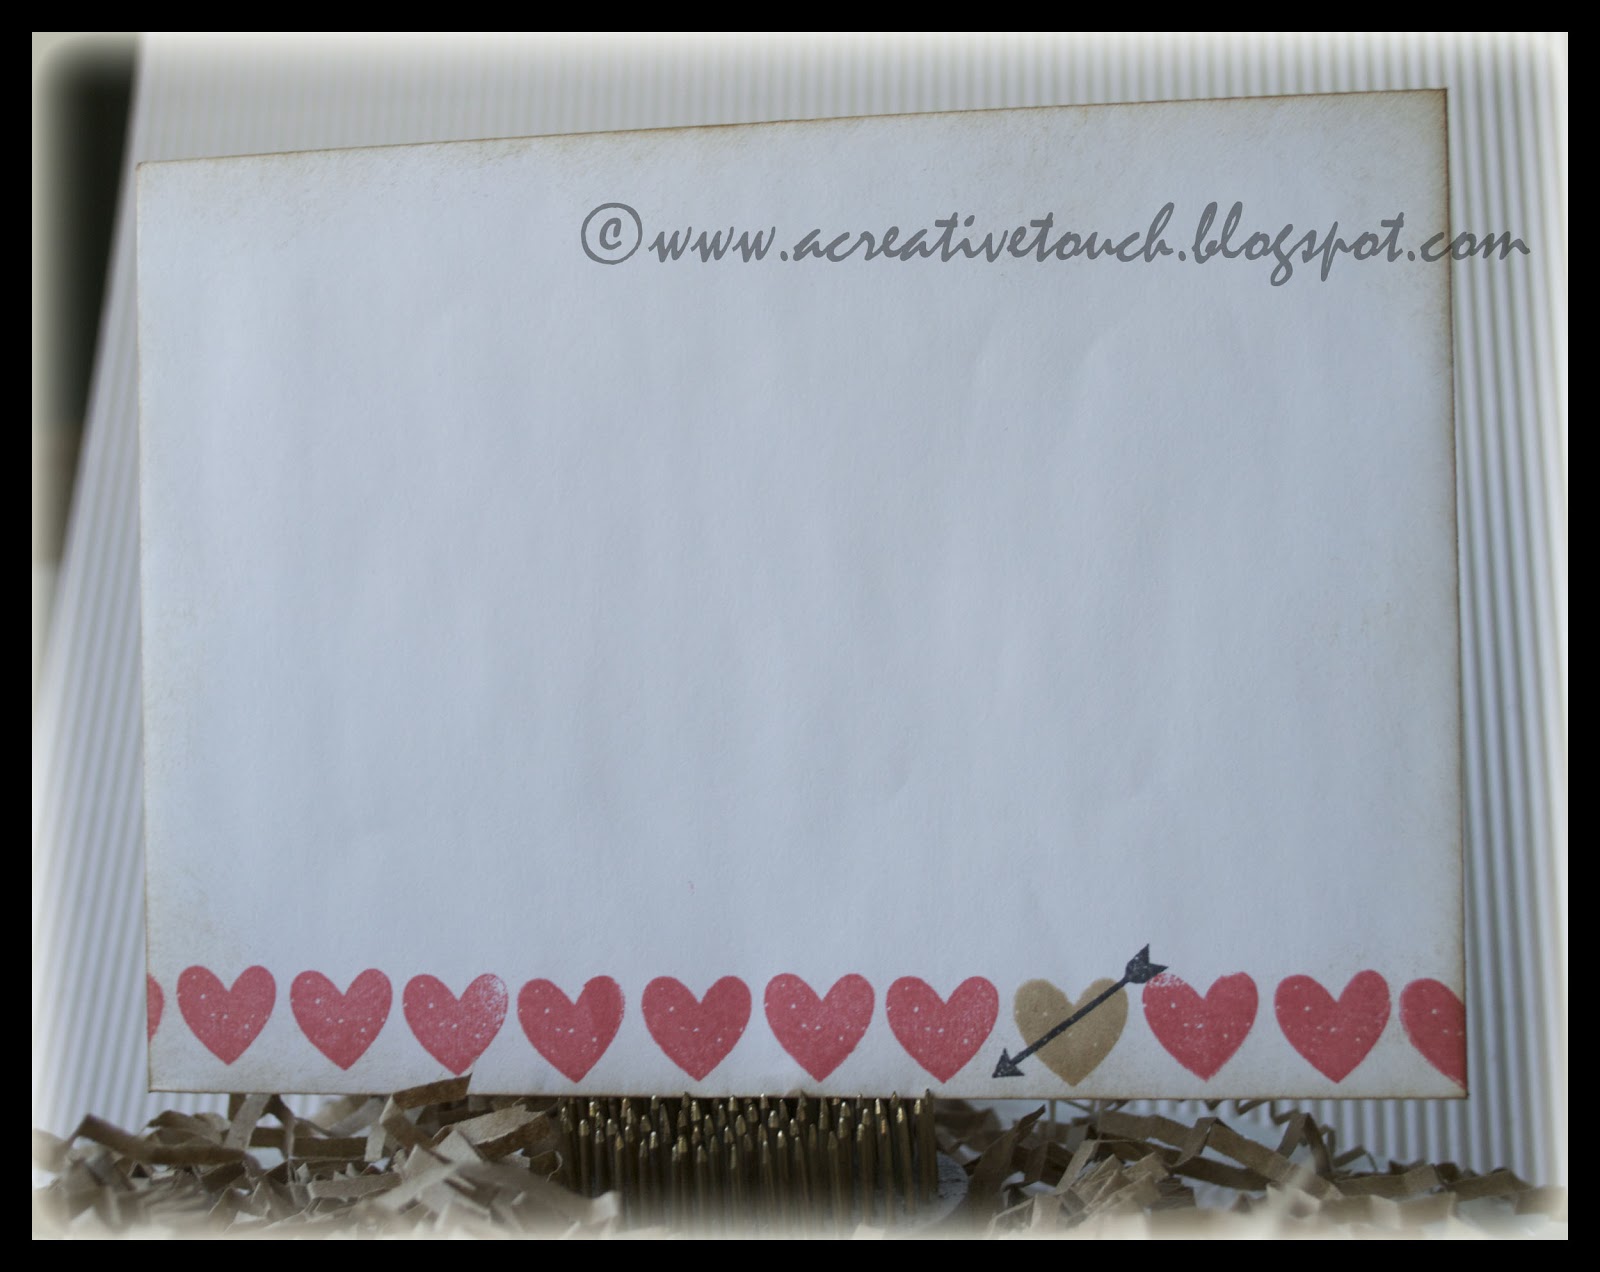
I first die cut the hearts out of white card stock and then stamped over the hearts with PTI ink. I was going to just tuck the hearts back inside where they were cut from and layer it over the card but I decided to go a step further. I put the negative die cut cover plate over a white card, lightly penciled in hearts for placement and then stamped the hearts again with the various colors and patterns.


I then layered the die cut over the stamped hearts and popped some of them off with foam tape to give the card dimension. Next I stamped and trimmed the sentiment and layered that on to the card using a slightly thinker foam adhesive. My last step was to add the sequins.

Though this card took me a bit of time, I love how it came out. I will be making a couple more like it to keep in my stash. I will also stamp the inside too but will do it at a later time when I know who I want to send it too.

Thank you for looking!! I hope you will read my other posts today as well for the next cards!!

Nora
Supplies:


Sunday, December 8, 2013

Paper Trey Ink Make It Monday Challenge

I am back for another quick post. I am entering Paper Trey Ink's Make it Monday Challenge #143. It was to create a paper project using the style "Modern Whimsy." This was kind of fun but I don't know if I pulled it off.

These are little bags I am sending off to a friend. I have been meaning to do this for WEEKS but just have never found the time. I decided this week that this challenge would be fun to make gift toppers. I knew I wanted to make a vellum flower but for some reason I could not find the vellum I knew I had. Thank goodness I am a craft hoarder because I had some tracing paper and used that instead. I then inked the flower pieces in yellow and pink, punched holes and put them together using a brad in the center to hold them. Didn't they come out pretty?


Besides the flowers, all the other pieces were taken from a box I have full of die cut extras that I have on my desk. I also sometimes stamp extras so I had the leaves all created too. This was so easy and fun to put together!!


I added a button to the center of the pink to make it a bit different from the orange bag. I think this bag is my favorite.


Here is a bit of a close up.

Well, that is it for today. I think two posts in one day is enough!! Have a great rest of the weekend!!

Nora
Supplies:
Stampin Up Die


Sunday, January 20, 2013

Paper Trey Ink's Make It Monday 100th Video!!

Have you ever checked out Paper Trey Ink's Make It Monday Videos? Every Monday they feature a new technique that you can use on cards or other types of paper crafts. This week, one my FAVORITE  card designers, Dawn McVey, created a video on how she packages cards that have embellishments that go off the card. (Video 100) It was really interesting. She often sends these type of cards out in larger envelopes, just like I have always done!! With the video, there is also a weekly challenge. I decided to play and here is my card and the envelope I came up with:


Supplies: Everything is Paper Trey Ink with the exception of the black cardstock (Bazzill), the alphabet Stickers (Doodlebug Design Candy Shoppe) and the patterned paper (Crate Paper "Cupid"), Copic Markers

Here is the just the card:


This is the front and the back of the envelope. I like the back better then the front. I am always afraid to embellish the front too much if I am going to send the card through the mail.


I hand stamped paper strip with "Tag It's #11" from Paper Trey ink in black, Berry Sorbet and Kraft ink. I will be doing this technique more often! I will let you in on a little secret, though. The stamping isn't straight! Normally I would throw it away but because I wanted to get this done for tomorrow, I just went with it. SHHH SHHH!! Don't tell anyone!!


I used the Copic Markers below to color in the circle element on the tag. Cannot say these are my favorite colors but it came out OK.


I am posting the photo of the envelope box too so that you know what size envelopes to buy if you need them. I only had white on hand but usually have both white and cream. 


One suggestion that Dawn gave in the video is if you are sending a dimensional card like mine, if you place a piece cardstock over the front, it will protect the embellishment. I usually put the front of my cards facing toward the back and tape the back with packing tape so the card back will go through the machine. However, I am going to use the cardstock trick next time.

Nora